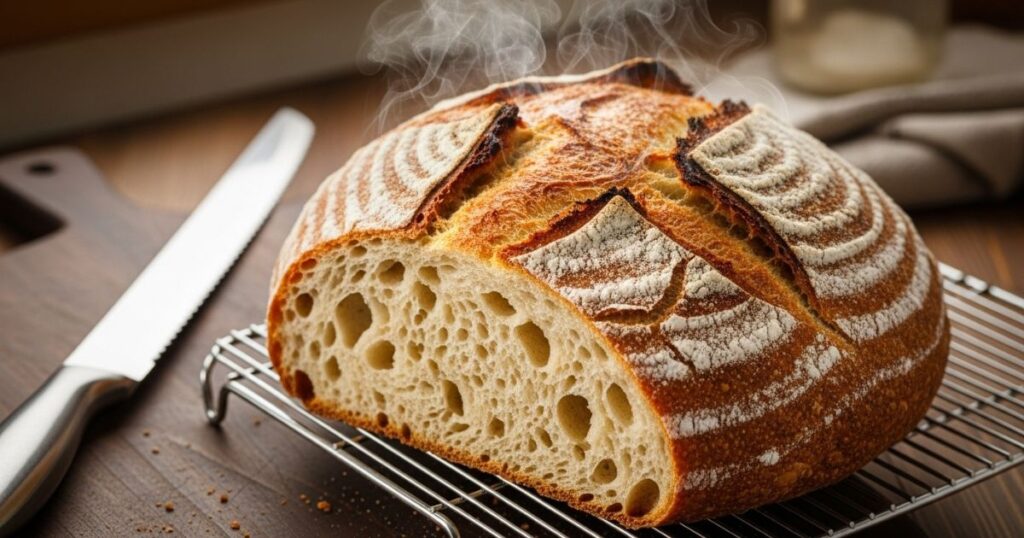
Soft and Chewy Sourdough Bread Made from Scratch
There is nothing quite like the smell of sourdough bread baking in your kitchen. The golden crust, the chewy inside, and the slight tang make it a favorite for many people. I have been baking this bread at home, and each loaf reminds me why it is worth the effort. It does not require complicated steps, but it does take patience.
If you are new to sourdough, this recipe will guide you carefully from start to finish. One of the best things about this bread is that you do not need fancy tools. If you have tried recipes like Dutch Oven No Knead Bread, you will notice that sourdough brings an extra layer of depth.
Why You’ll Love This Bread
Sourdough bread has a charm that keeps you coming back. The inside stays soft and chewy while the outside develops a rustic crust. It is flavorful without needing extra ingredients because the starter naturally creates that tangy taste. The recipe is simple with only four ingredients yet it feels special each time you bake it.
Ingredients You Will Need
- 1 cup (240 g) active sourdough starter
- 1 ½ cups (360 g) warm water
- 4 cups (480 g) bread flour or all-purpose flour
- 2 teaspoons (12 g) sea salt
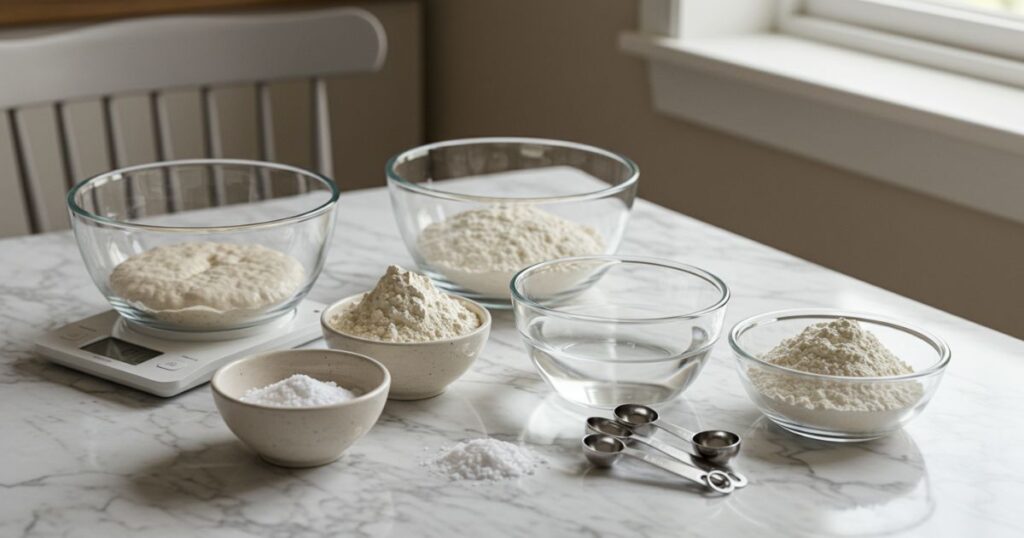
It is best to weigh the ingredients for accuracy. This small step makes the process more consistent and helps you get reliable results every time.
Step-by-Step Instructions
1. Prepare Your Starter
Feed your starter several hours before you begin. It should be active and bubbly when you are ready to mix. A good test is to drop a small spoonful into water. If it floats, it is ready. This step is important because the strength of your starter will decide how well your bread rises.
2. Mix the Dough
Combine the starter and warm water in a large bowl. Stir until the starter dissolves. Add the flour and salt, then mix until there are no dry patches. The dough will look sticky and rough but that is normal. Let it rest for thirty minutes so the flour can hydrate.
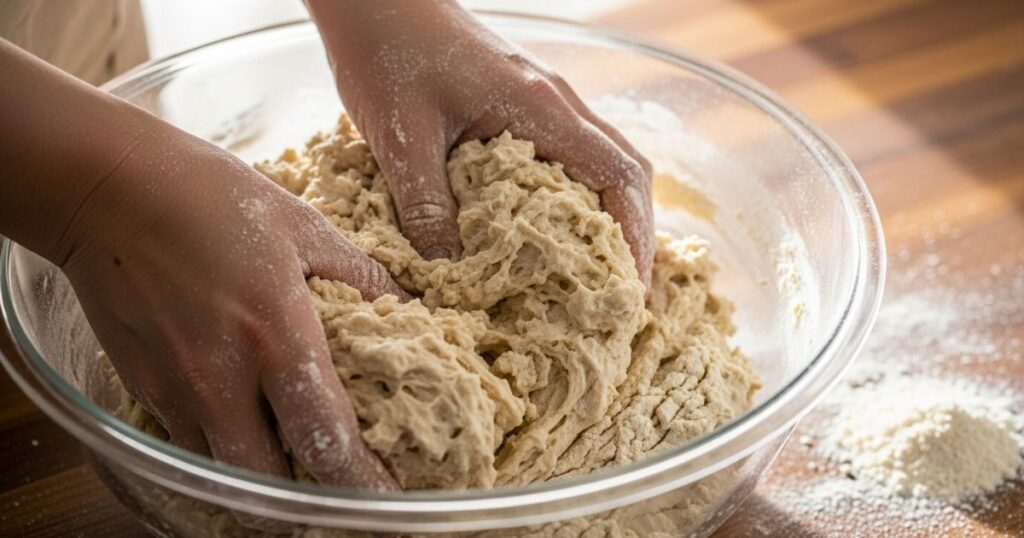
3. Stretch and Fold
Instead of kneading, you will stretch and fold the dough. Every thirty minutes for two hours, pull one side of the dough up and fold it over. Turn the bowl and repeat on all sides. With each fold the dough becomes smoother and stronger. By the last round it should feel more elastic and hold its shape better.
4. Bulk Fermentation
Cover the bowl with a towel or plastic wrap and let the dough rise at room temperature. Depending on the warmth of your kitchen, this can take four to six hours. The dough should double in size and feel airy when you touch it. Do not rush this stage because it is where the bread develops its flavor.
5. Shape the Dough
Lightly flour your counter and gently place the dough on it. Use your hands to fold it into a round loaf, tucking the edges underneath to create tension. Do not press too hard because you do not want to lose all the air bubbles. Place the dough seam side up in a floured proofing basket or a bowl lined with a floured towel.
6. Cold Proof
Cover the dough and place it in the refrigerator overnight. It should rest for at least eight to twelve hours. The cold slows the fermentation and allows more flavor to build. It also makes the dough easier to handle and score.
7. Bake the Bread
In the morning, preheat your oven to 475°F (245°C) with a Dutch oven inside. Once hot, gently turn the dough out onto parchment paper. Use a sharp blade to score the top. This step helps control the way the bread expands in the oven. Place it into the Dutch oven, cover with the lid, and bake for twenty minutes. Remove the lid and bake for another twenty-five to thirty minutes until the crust is deep golden brown.
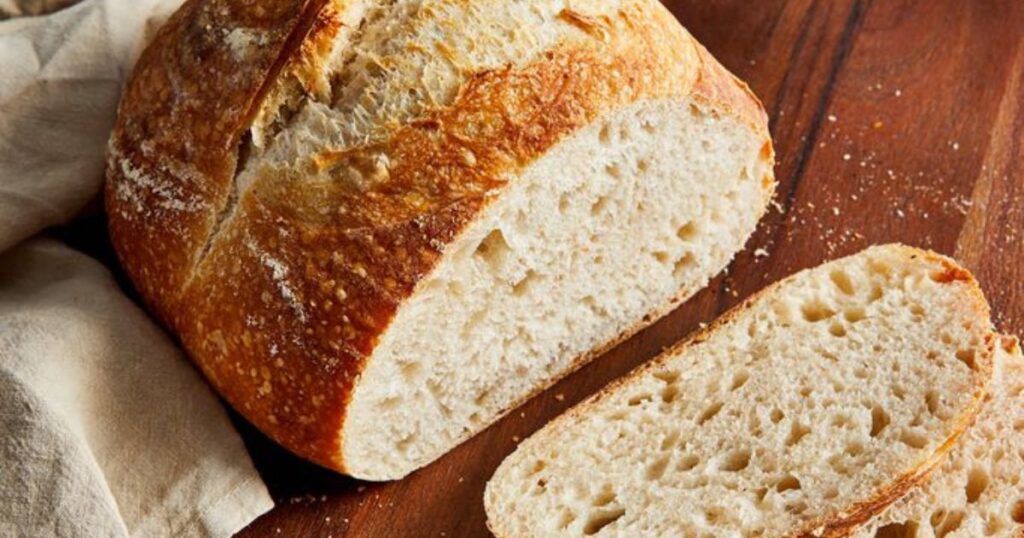
8. Cool Before Slicing
As tempting as it is, let the bread cool for at least one hour before slicing. Cutting too soon can leave the inside gummy. When it has cooled, slice through the crust and enjoy the chewy crumb with butter, soup, or any topping you like.
Helpful Tips
- Always measure by weight for better results.
- Be patient with fermentation because good flavor takes time.
- Bake in a preheated Dutch oven to achieve the best crust.
- Remember that each loaf improves your skill and confidence.
Variations
You can personalize this sourdough bread in many ways. Add seeds such as sesame or sunflower for crunch. Mix in herbs like rosemary for a savory loaf. For something sweeter, fold in raisins or dried cranberries. These small changes make each bake exciting and different.
Storing Your Bread
Keep your sourdough at room temperature wrapped in a kitchen towel or bread bag. It will stay fresh for about three to four days. If you want to keep it longer, slice it and freeze the pieces. You can toast them directly from the freezer.
Why Sourdough is Worth It
Making sourdough bread is more than following steps. It feels like a journey. Watching your starter grow, shaping the dough with your hands, and pulling a golden loaf from the oven is rewarding. It is slow baking that reminds you to enjoy the process. Each loaf carries a little bit of effort and care, and that makes it taste even better.
FAQs
Q: Can I bake without a Dutch oven?
Yes, you can. Use a baking sheet with a tray of water in the oven to create steam.
Q: Why is my bread too sour?
You may have fermented it too long. Shortening the rise or using a younger starter can help.
Q: Can I make gluten-free sourdough?
Yes, but you will need a gluten-free starter and flour mix. The result will be different but still tasty.
Final Thoughts
This soft and chewy sourdough bread is one of those recipes that makes you feel proud. From simple ingredients, you create a loaf that smells amazing and tastes even better. It may take time, but the process is relaxing and the reward is worth it. Once you start baking sourdough at home, it becomes a tradition you will want to repeat again and again.