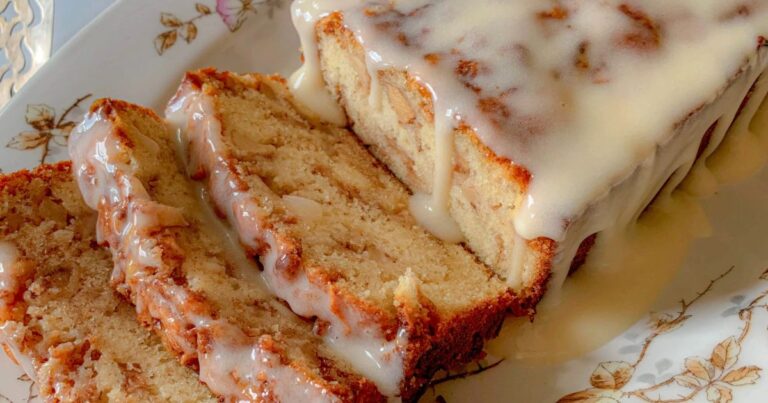
Homemade Amish White Bread Recipe
Homemade bread has a way of making a house feel warm and welcoming. The smell fills the kitchen and makes you want to grab a slice before it even comes out of the oven. The first time I made Amish White Bread, I knew it would become a recipe I would bake again and again. It is soft, fluffy, and just a little sweet. Unlike store bought bread, this one taste rich and homemade. It stays fresh for days and works for almost any meal.
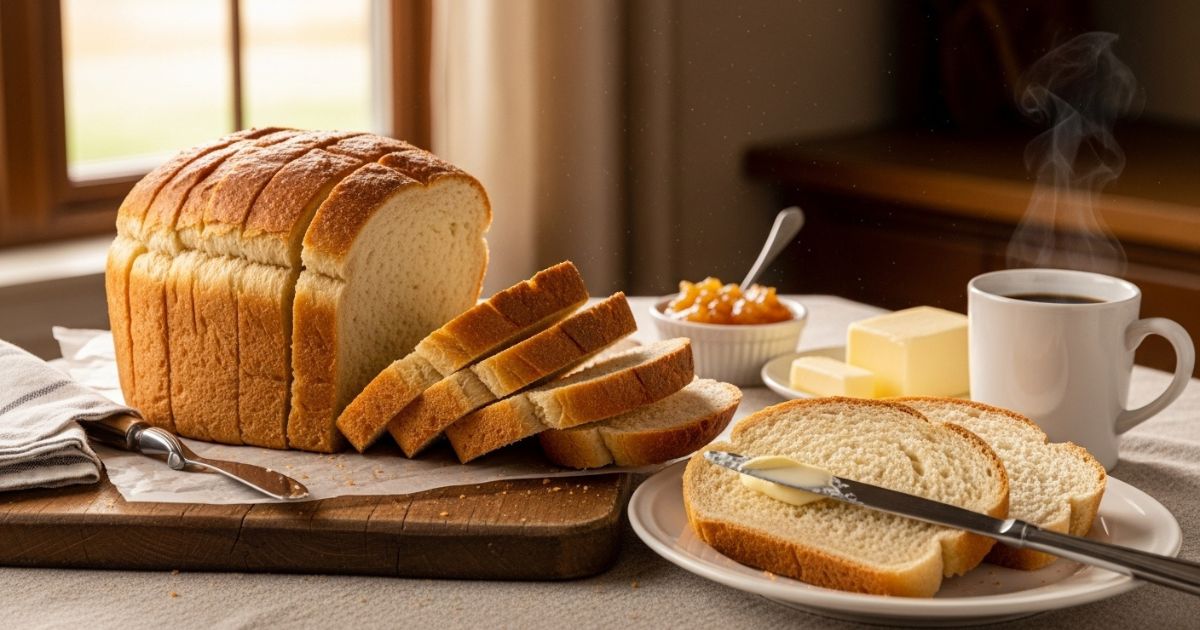
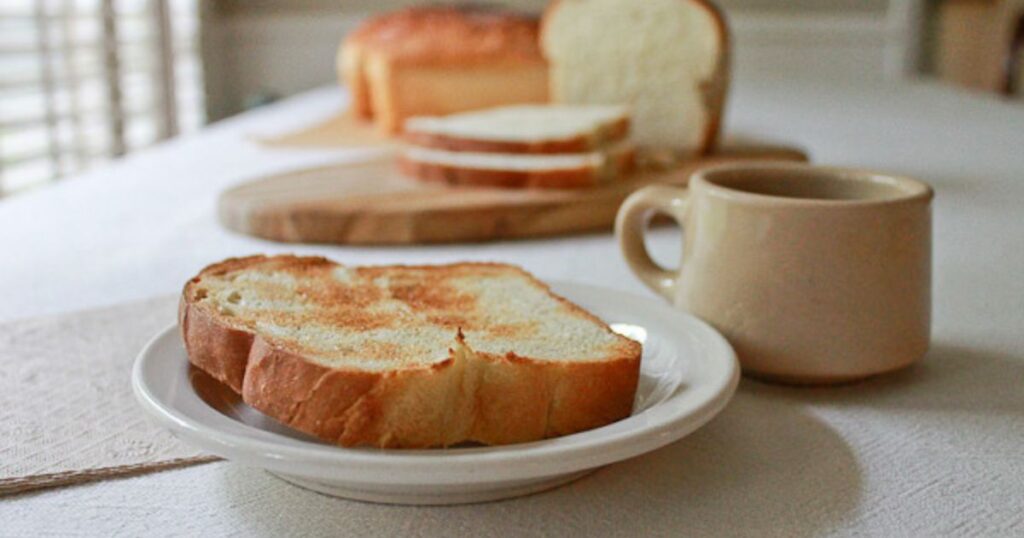
If baking bread feels difficult to you, this recipe will change your mind. The steps are easy to follow and do not require special tools. You will get a loaf that feels just right for breakfast toast, a sandwich, or even just with a little butter on top. If you have ever enjoyed rustic bread like Dutch Oven No Knead Bread, you will love this softer version.

Why You Will Love Amish White Bread
This bread has a taste and texture that feels like home. It is soft inside but still holds its shape well. The small touch of sugar gives it a gentle sweetness. The slices are smooth and even, which makes them great for sandwiches. Unlike a crusty loaf, this one is light and tender.
You will also love how versatile it is. You can enjoy it plain or brush the top with butter for extra flavor. It freezes well, so you can bake more than one loaf at a time.
Ingredients You Will Need
- 2 cups warm water (about 110°F / 45°C)
- 2/3 cup sugar
- 1 ½ tablespoons active dry yeast
- 1 ½ teaspoons salt
- ¼ cup vegetable oil
- 6 cups all-purpose flour
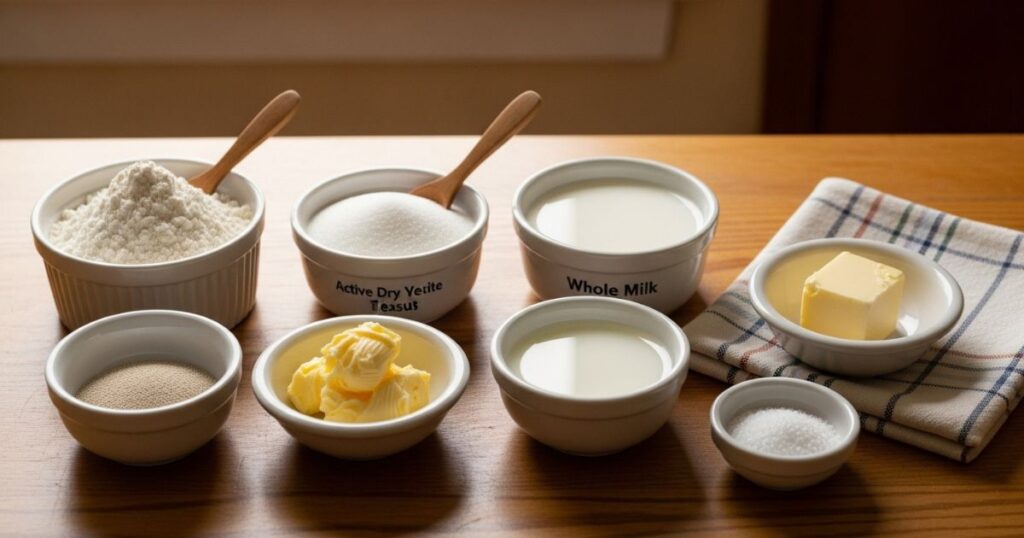
These are simple ingredients, but together they make something special.
Step by Step Instructions
Step 1: Activate the Yeast
Mix warm water and sugar in a large bowl. Stir until the sugar is gone, then sprinkle yeast on top. Leave it for about 10 minutes. You should see foam forming on the surface. This shows the yeast is alive and ready to make your dough rise. Watching this step always makes me excited because it feels like the bread is already beginning.
Step 2: Mix the Dough
Add salt and oil to the yeast mixture. Start adding flour, one cup at a time. At first, the dough will be sticky but as you add more flour, it will come together. When it becomes hard to stir with a spoon, switch to kneading by hand. I always like this part because you can feel the dough change as you work with it.
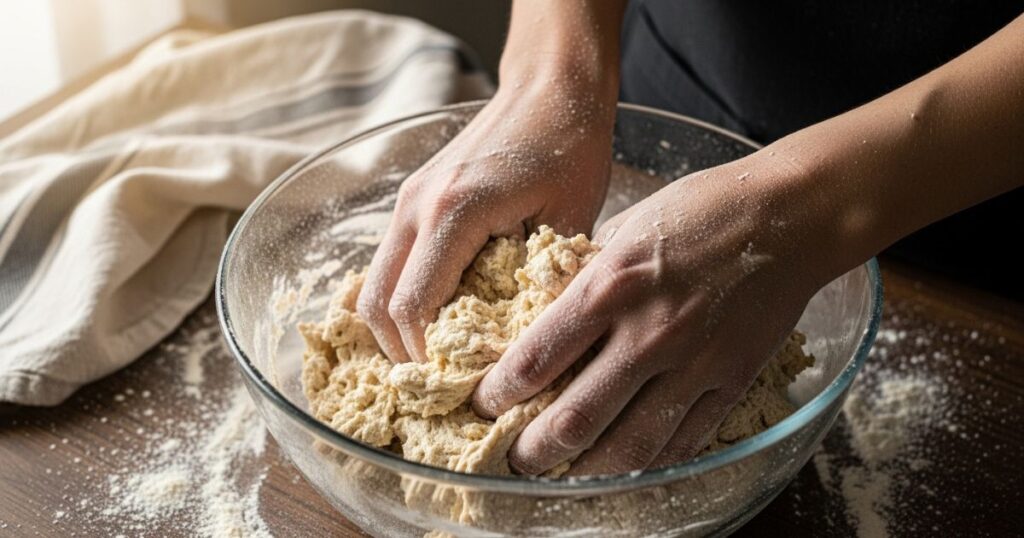
Step 3: Knead the Dough
Place the dough on a floured surface. Knead for about 8 to 10 minutes. Push it with the heel of your hand then turn it and repeat. The dough should become smooth and springy. When you press it with your finger, the mark should slowly fade away. That is how you know the gluten is ready.
Step 4: First Rise
Put the dough in a greased bowl. Cover it with a towel and let it rise in a warm place for about 1 hour. The dough should double in size. When I check after an hour, I always feel a little thrill. The soft, puffy dough looks full of life and smells faintly sweet.
Step 5: Shape the Loaves
Press the dough down gently to release the air. Divide it into two pieces. Roll each piece into a loaf shape and tuck the edges under. Place them into greased loaf pans. Shaping the dough tightly helps it rise evenly and gives the finished bread a smooth top.
Step 6: Second Rise
Cover the pans with a towel and let them rise again for about 30 to 40 minutes. The dough should grow until it rises just above the pans. This second rise is important because it gives the bread its final light texture.
Step 7: Bake
Heat your oven to 350°F (175°C). Bake the loaves for about 30 minutes. The tops should turn golden brown. When you tap the bottom of a loaf, it should sound hollow. That means it is ready. Take the bread out of the pans and let it cool on a rack. For a shiny top, brush with butter while it is still warm.
Tips for Success
- Make sure the water is warm but not hot. Hot water can kill the yeast.
- Knead long enough so the bread is not dense. Smooth dough means good gluten development.
- Wait until the bread is cool before cutting. If you cut too soon, the inside can feel sticky.
Variations
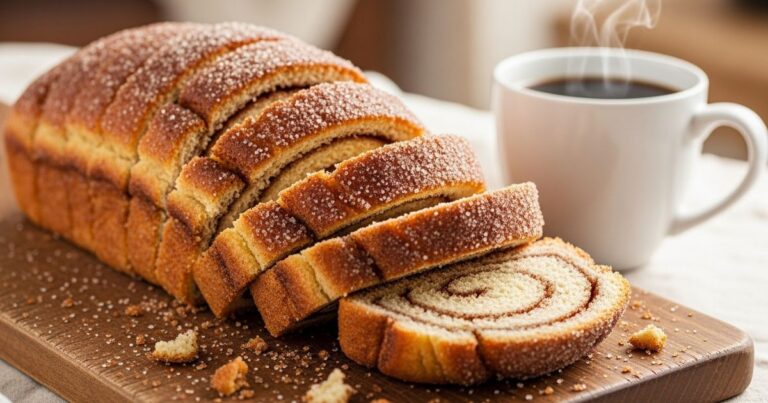
This bread is already wonderful, but you can try fun twists. Add a sprinkle of seeds on top before baking. Mix in half whole wheat flour for a richer taste. Spread cinnamon and sugar inside before rolling the dough into loaves for a sweet version.
Serving Ideas
Amish White Bread is soft and light, which makes it work for many meals. Slice it thick and enjoy it with jam for breakfast. Use it to make French toast or grilled cheese. Serve it beside a hot bowl of soup for dinner. It makes great sandwiches too.
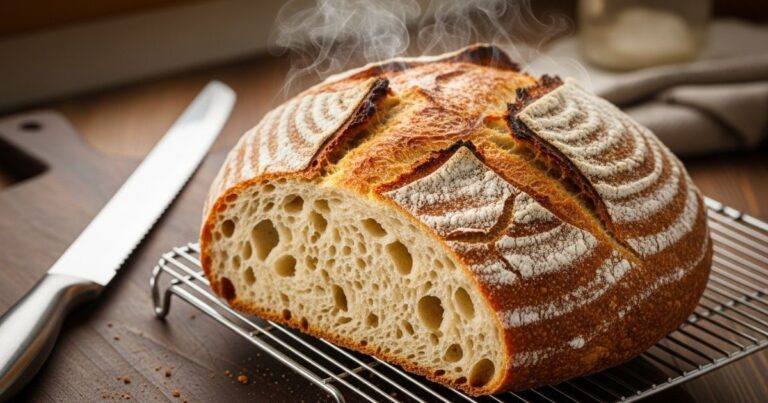
If you want to explore more bread baking, you can also try Soft and Chewy Sourdough Bread Made from Scratch. That recipe gives you a chewy crust and a tangy taste, which is a nice contrast to this sweeter loaf.
Storing and Freezing
Keep the bread in a sealed bag or airtight container at room temperature. It will stay fresh for about 4 days. For longer storage, wrap the loaves tightly in plastic and foil then freeze. They will last up to 3 months. To use, let them thaw at room temperature and warm slightly in the oven if you like.
Final Thoughts
Baking Amish White Bread is simple but rewarding. The process is calming and the results are always worth it. The dough rises beautifully, the smell fills the kitchen, and the finished loaves taste amazing. It is the kind of recipe that makes you feel proud every time you bake it. Once you try it, you will understand why this bread has been loved for generations.