Dutch Oven No Knead Bread Recipe
This Dutch Oven No Knead Bread has become one of my favorite things to bake. The first time I made it, I couldn’t believe how little effort it took to get such a beautiful loaf. No kneading, no fancy mixer, just a bowl, some flour, yeast and a Dutch oven. That’s it.
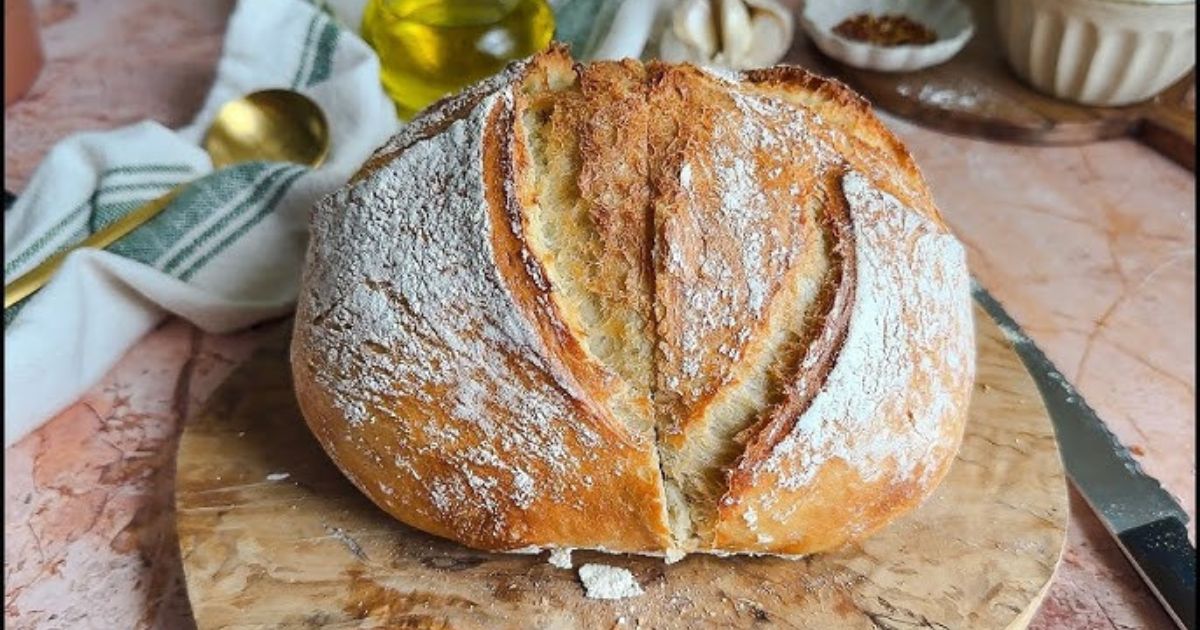
I mixed everything together the night before, let the dough sit while I went about my day, and when it was finally baked, the whole house smelled like a bakery. The crust was golden and crackly, and when I sliced into it the inside was fluffy and chewy, just the way I like it. Honestly, it felt like magic and way easier than other breads I’ve tried, like Zucchini Bread or even Pumpkin Bread.

I keep coming back to this recipe whenever I want fresh homemade bread without spending hours working the dough.
Why You’ll Love Dutch Oven No Knead Bread
Baking bread doesn’t have to be intimidating. This recipe proves that less really is more. By letting the dough rest overnight, you allow time to do most of the work for you. The long fermentation process gives the bread a depth of flavor you can’t get from quick rise recipes.
The texture is another reason this bread is so popular. The crust develops beautifully in the Dutch oven, while the inside stays tender and airy. It’s the kind of bread you want to tear apart while it’s still warm and slather with butter. It also pairs perfectly with soups, stews, or even enjoyed on its own with a drizzle of olive oil.
Ingredients for Dutch Oven No Knead Bread
You only need a few pantry staples to get started:
- 3 cups all-purpose flour
- 1 ½ teaspoons salt
- ½ teaspoon instant yeast
- 1 ½ cups warm water
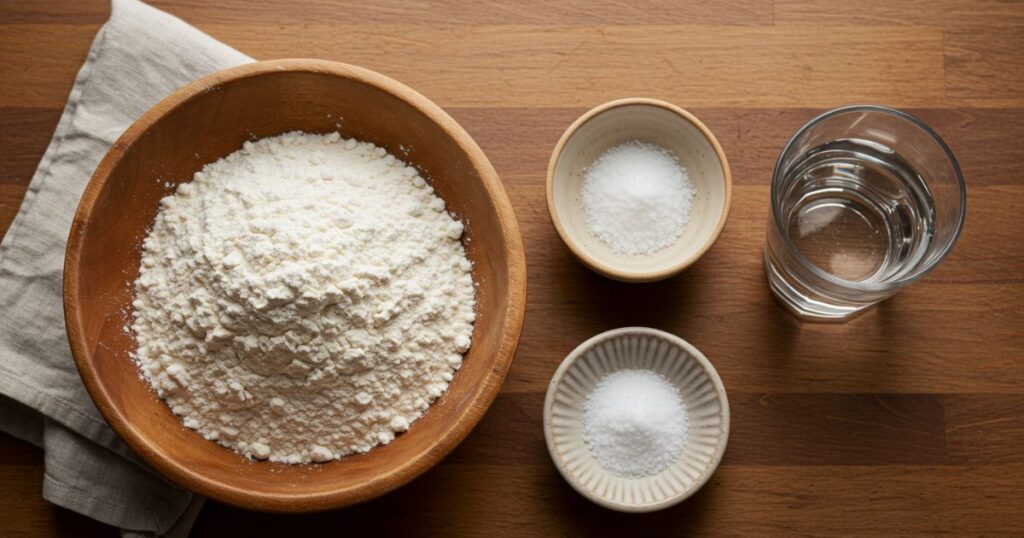
That’s it! Just four ingredients come together to create a loaf that looks like it came from a bakery.
Step-by-Step Instructions for Making Dutch Oven No Knead Bread
This bread is all about simplicity. Follow these steps for consistent results:
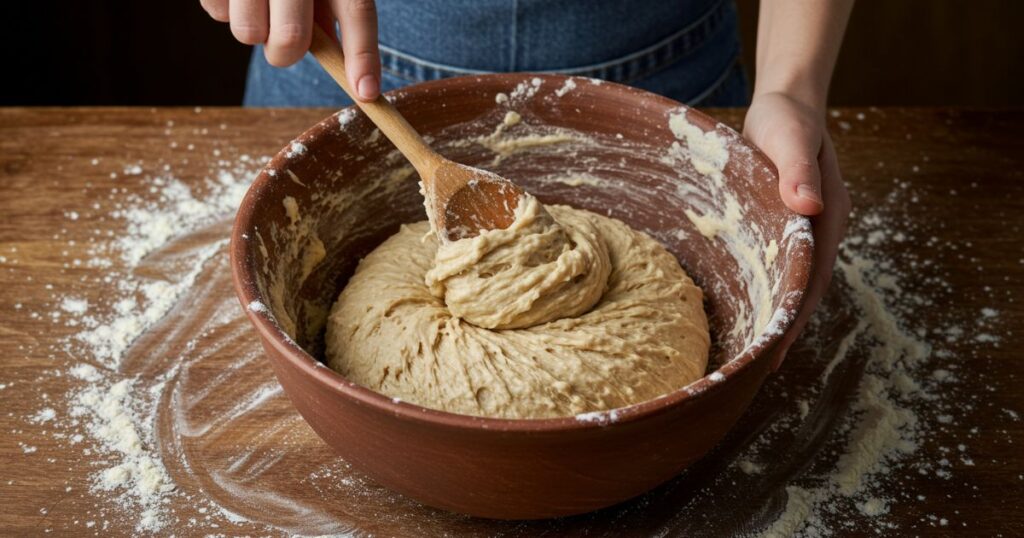
1. Mix the Dough
In a large mixing bowl, combine the flour, salt, and yeast. Add the warm water and stir until the dough comes together. The mixture will be sticky and shaggy, and that’s exactly how it should look. There’s no kneading required just mix with a spoon until no dry patches remain.
2. Let It Rest
Cover the bowl with plastic wrap or a clean kitchen towel and let the dough rest at room temperature for 12 to 18 hours. This long resting period allows the yeast to slowly ferment the dough, developing incredible flavor and texture. Don’t rush this step time is the secret ingredient here.
When you check the dough after the rise, it should look doubled in size with bubbles on the surface. The texture will be loose, soft, and full of air pockets. That’s when you know it’s ready for the next step.
3. Shape the Dough
Lightly flour a work surface and your hands, then gently turn the dough out of the bowl. Don’t punch it down or over-handle it, since you want to preserve the air bubbles that formed during the rise. Fold the dough over itself a few times to create a round shape. Place it seam-side down on parchment paper and cover it with a towel to rest for another 30 minutes.
This short second rise gives the dough just enough time to relax and prepare for baking. You’ll notice it spreads slightly and becomes more manageable.
4. Preheat the Dutch Oven
While the dough is resting, place your Dutch oven with the lid on into your oven and preheat it to 450°F (230°C). Heating the Dutch oven in advance ensures the bread will hit a hot surface immediately, which helps create that beautiful crust.
The heavy lid also traps steam inside, which mimics the effect of a professional bread oven and allows the crust to develop properly.
5. Bake the Bread
Carefully remove the hot Dutch oven from the oven and use the parchment paper to lift the dough inside. Cover with the lid and bake for 30 minutes. This stage allows the bread to steam and rise fully.
After 30 minutes, remove the lid and bake for an additional 10 to 15 minutes. This uncovered time lets the crust turn golden brown and crisp. When you tap the bottom of the loaf, it should sound hollow a sign that it’s baked through.
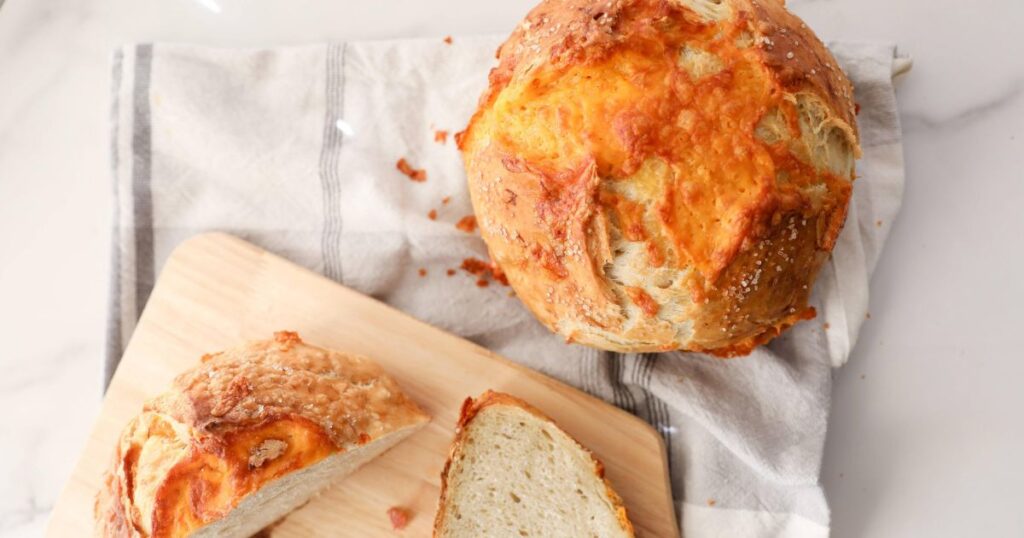
6. Cool Before Serving
Once baked, carefully transfer the bread to a wire rack to cool. Although it’s tempting to cut into it right away, allowing it to cool for at least 30 minutes ensures the crumb sets properly and makes slicing easier. The result will be a loaf with a chewy interior, crisp crust, and incredible aroma.
Tips for Success
- Use the right flour: All-purpose works well, but bread flour can give you a chewier texture.
- Don’t skimp on resting time: The long fermentation is key for flavor and texture.
- Check your oven temperature: A hot oven is essential for that bakery-style crust.
- Experiment with add-ins: Herbs, garlic, or seeds can be added to the dough for variety.
Storing and Freezing Dutch Oven Bread
This bread tastes best fresh, but it also stores well. Keep it at room temperature in a paper bag or wrapped in a clean towel for up to two days. Avoid plastic bags, as they soften the crust.
To freeze, slice the bread once cooled, then wrap tightly in plastic and foil. Store in the freezer for up to three months. To reheat, toast the slices directly from frozen or warm them in the oven.
Variations
The beauty of this recipe is its flexibility. You can adapt it to your tastes and seasonal cravings. Try mixing in shredded cheese and herbs for a savory loaf or add dried fruit and nuts for a sweeter option. The method remains the same, making it easy to experiment.
If you enjoy trying other homemade breads, you might also love Super Moist Pumpkin Bread, which has the same comforting feel with a seasonal twist.
FAQs
Q: Can I use active dry yeast instead of instant yeast?
Yes, but you’ll need to dissolve it in warm water before adding it to the flour.
Q: Do I need parchment paper?
It’s highly recommended since it makes transferring the dough into the hot Dutch oven much easier.
Q: Can I bake this bread without a Dutch oven?
Yes, but the results won’t be quite the same. You can use a heavy oven-safe pot with a lid or bake it directly on a baking stone with a tray of water in the oven to create steam.
Q: Why is my bread dense?
This usually happens if the dough hasn’t rested long enough or if too much flour was added during shaping.
Q: How do I know when it’s baked?
The crust should be golden brown, and tapping the bottom should produce a hollow sound.
Final Thoughts
Dutch Oven No Knead Bread is proof that baking doesn’t have to be complicated. With just four ingredients and a little patience, you can create a rustic loaf that looks and tastes like it came straight from a bakery. The crisp crust, soft crumb, and rich flavor make it a recipe worth repeating again and again.
Try it once, and you’ll quickly understand why so many home bakers keep coming back to this recipe.