

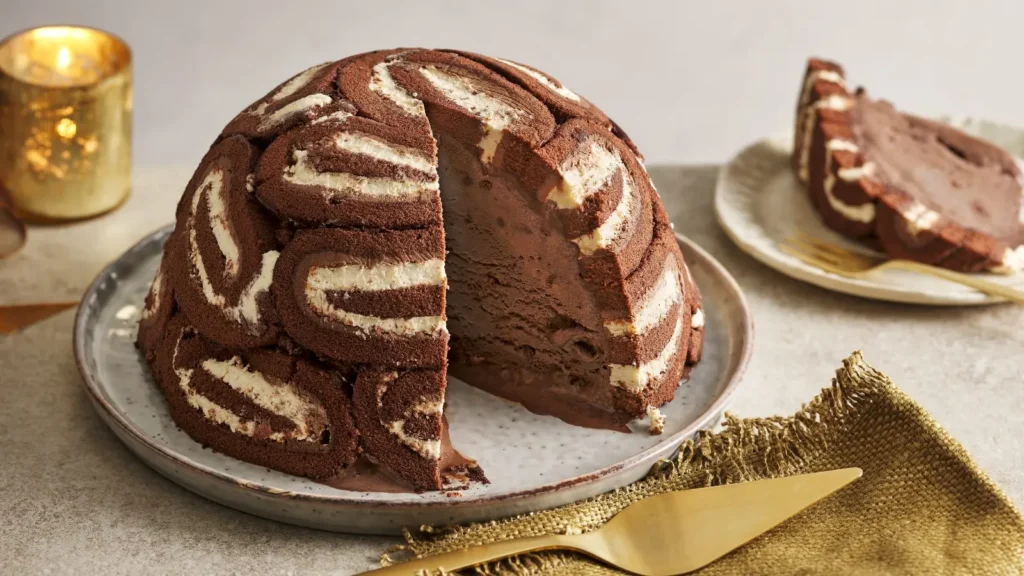
If you’ve ever craved something sweet and a little nostalgic, this Chocolate Swiss Cake is exactly what you need. I made this cake recently for a family gathering, and it was gone before I even grabbed a second slice. There’s something magical about that soft chocolate sponge rolled around a creamy filling and covered in glossy chocolate ganache.
The best part? It’s not nearly as intimidating as it looks. Once you break it down step by step, you’ll see how fun it is to make. If you’ve already tried Chocolate Swiss Rolls, then this cake is like the bigger, more indulgent cousin one that looks impressive but tastes even better.
Why You’ll Love This Chocolate Swiss Cake
This dessert isn’t just about taste, though that’s a big part of it. You’ll love this cake for its soft, fluffy texture, balanced sweetness, and luxurious cream filling. Each slice feels like a bite of celebration, whether you’re serving it for a birthday, holiday dinner, or just because you want to spoil yourself.
The chocolate sponge stays light but holds its shape beautifully when rolled. The filling is creamy, smooth, and not overly sweet which pairs perfectly with the rich chocolate ganache on top. You’ll also appreciate how versatile it is, you can change the filling adjust the chocolate or even decorate it for different occasions.
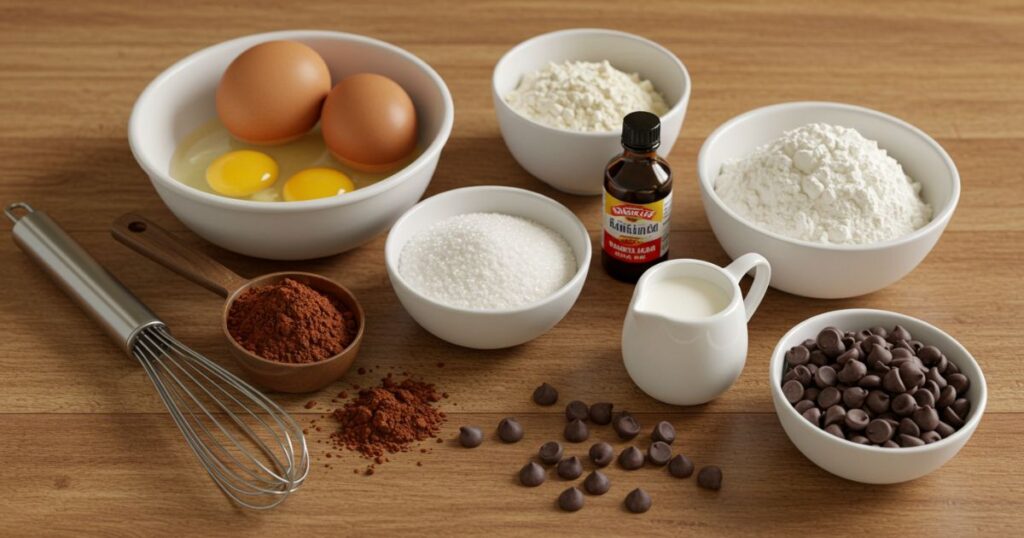
Ingredients for Chocolate Swiss Cake
Here’s what you’ll need to make this show-stopping dessert:
For the Sponge Cake:
- 4 large eggs
- ½ cup granulated sugar
- ¼ cup all-purpose flour
- ¼ cup unsweetened cocoa powder
- 1 teaspoon baking powder
- Pinch of salt
- 2 tablespoons vegetable oil
- 1 teaspoon vanilla extract
For the Filling:
- 1 cup heavy whipping cream
- 2 tablespoons powdered sugar
- 1 teaspoon vanilla extract
For the Ganache:
- 1 cup semi-sweet chocolate chips
- ½ cup heavy cream
Step-by-Step Instructions for Making Chocolate Swiss Cake
1. Preheat the Oven and Prepare the Pan
Start by preheating your oven to 350°F (175°C). Line a 10×15-inch jelly roll pan with parchment paper, making sure it hangs slightly over the sides for easy lifting later. Lightly grease the parchment so nothing sticks. Taking this step seriously is important because the cake is delicate and you don’t want it to tear when rolling.
2. Whip the Eggs and Sugar
In a large mixing bowl, beat the eggs and sugar together with an electric mixer on high speed for 5 to 7 minutes. You want the mixture to become pale, thick, and airy. This process incorporates air into the batter, which gives the sponge its signature light texture. Be patient and don’t rush, this step sets the foundation for the whole cake.
3. Sift and Fold in the Dry Ingredients
Sift together the flour, cocoa powder, baking powder, and salt. Sifting helps prevent clumps and ensures the dry ingredients mix evenly. Gently fold the dry mixture into the egg batter in small batches, using a spatula and light motions. Take your time so you don’t deflate the airy batter. A light hand here will keep the sponge soft and fluffy.

4. Add Oil and Vanilla
Next, drizzle in the oil and vanilla extract, folding gently until everything is combined. The oil helps keep the cake moist, even after rolling. You’ll notice the batter is light but smooth that’s exactly what you want.
5. Bake the Sponge Cake
Pour the batter into your prepared pan and spread it evenly with a spatula. Bake for 10 to 12 minutes or until the cake springs back lightly when touched in the center. It’s crucial not to overbake; a dry sponge is much harder to roll and can crack. Keep a close eye on it during those last few minutes.
6. Roll the Cake While Warm
As soon as the cake comes out of the oven, dust a clean kitchen towel with a light layer of cocoa powder. Carefully flip the cake onto the towel, peel off the parchment paper and gently roll it up with the towel inside. Rolling the cake while it’s still warm prevents cracks later on.
7. Make the Cream Filling
While the cake cools, prepare the filling. In a chilled mixing bowl, whip the heavy cream, powdered sugar, and vanilla extract until stiff peaks form. The cream should be smooth and hold its shape. Taste it and adjust the sweetness if you’d like a slightly sweeter filling.
8. Unroll and Fill the Cake
Once the sponge is cool, gently unroll it. Spread the whipped cream filling evenly across the cake, leaving a small border around the edges so it doesn’t spill out when rolled. Use a spatula to smooth it out, then roll the cake back up tightly but gently. Transfer it seam-side down onto a serving platter.
9. Make the Chocolate Ganache
For the topping, heat the heavy cream in a small saucepan until it just begins to simmer. Pour the hot cream over the chocolate chips in a heatproof bowl. Let it sit for a minute, then whisk until smooth and glossy. This silky ganache will give the cake its final touch of elegance.
10. Cover the Cake with Ganache
Pour the ganache over the rolled cake, letting it drip down the sides. Use a spatula to spread it evenly if needed. The glossy finish makes the cake look bakery-worthy. Let the ganache set for at least 30 minutes before slicing, though it’s even better if you chill it in the fridge.
11. Slice and Enjoy
When ready, slice the cake with a sharp knife, wiping it cleans between cuts for neat slices. Each piece will reveal a beautiful swirl of chocolate sponge and creamy filling inside topped with shiny ganache.

Tips for the Best Chocolate Swiss Cake
- Don’t overbake the sponge; keep it moist.
- Roll the cake while warm to prevent cracks.
- Chill the bowl and beaters before whipping cream.
- Wipe your knife between slices for clean cuts.
- Serve chilled for a firmer texture or room temp for softer cream.
Variations
- Add raspberries or strawberries inside with the filling.
- Try a coffee-flavored whipped cream for a mocha twist.
- Swap ganache for a dusting of powdered sugar if you want a lighter finish.
Storing and Serving
Keep the cake in an airtight container in the refrigerator for up to 3 days. For longer storage, wrap slices tightly in plastic wrap and freeze for up to 1 month. To serve, thaw in the fridge overnight and bring to room temperature before eating.
FAQs
Q: Can I make the sponge ahead of time?
Yes, you can bake the sponge, roll it, and store it wrapped in the fridge overnight before filling.
Q: What if my cake cracks?
Don’t worry the ganache will cover imperfections beautifully.
Q: Can I use whipped cream cheese filling?
Absolutely, it adds a tangy twist to the flavor.
Final Thoughts
This Chocolate Swiss Cake is the kind of dessert that makes people’s eyes light up the moment they see it. It’s soft, creamy, rich and surprisingly easy to pull together once you follow the steps. Whether you’re making it for family, friends, or just for yourself, it’s sure to be a recipe you’ll return to again and again.
