Best Chocolate Oreo Cake Recipe for Dessert Lovers
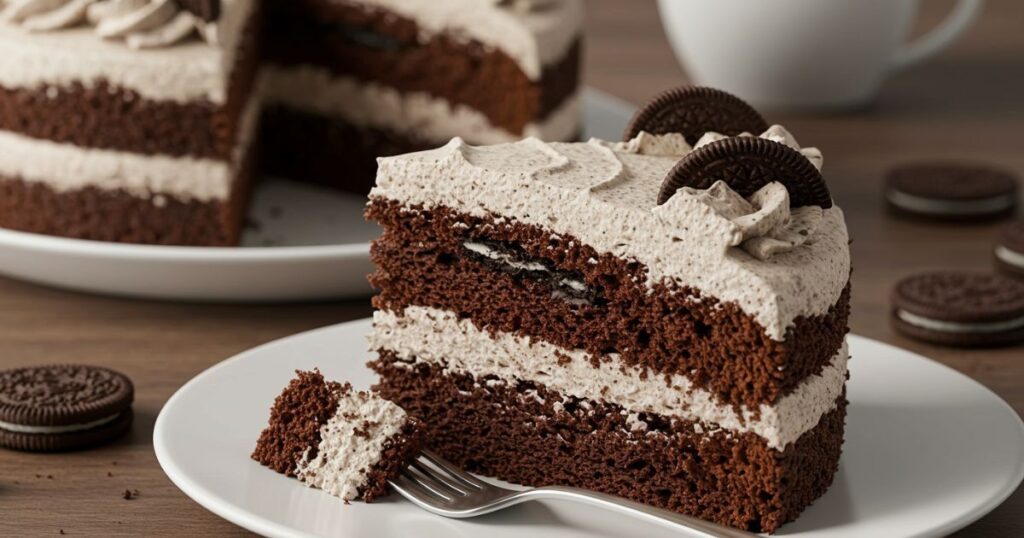
Last weekend, I baked a Chocolate Oreo Cake for a small get-together, and it was a huge hit. This cake is rich, moist, and full of that cookies and cream flavor everyone loves. The layers of soft chocolate cake paired with Oreo frosting and a crunchy topping make it a treat worth making again and again.
If you’ve ever dreamed of a cake that combines the deep flavor of chocolate with the crunch and sweetness of Oreos, this recipe is the one. It’s surprisingly simple to put together and the results look like something straight from a bakery. I even paired a slice with coffee and a scoop of vanilla ice cream, and it felt like dessert heaven. This cake will remind you of recipes like
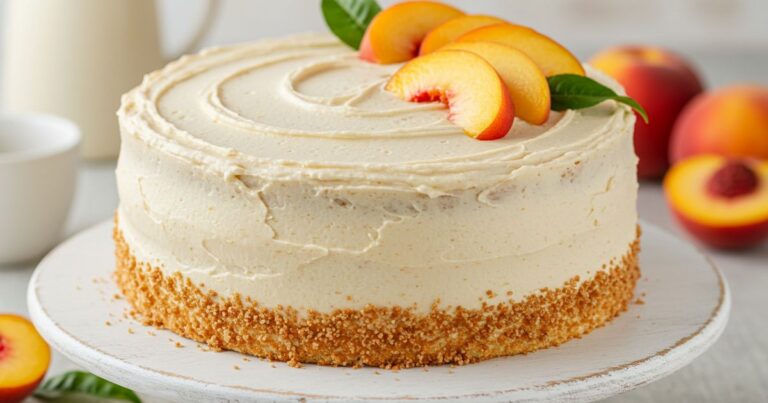
German Chocolate Cake, where the combination of chocolate and cookies comes together in the best way.
Why You’ll Love Chocolate Oreo Cake
Chocolate Oreo Cake is more than just a fun dessert. It balances rich chocolate with the crunchy sweetness of Oreos creating a texture that’s both soft and slightly crisp. The cream filling in the cookies blends beautifully into the frosting, adding a nostalgic flavor that makes every bite satisfying.
Another reason this cake is so loved is its versatility. You can decorate it simply with crushed Oreos or go all out with layers of frosting, ganache, and cookie pieces. Whether it’s for a birthday, a holiday, or just a weekend bake, this cake feels festive and indulgent.
Ingredients for Chocolate Oreo Cake
For the Cake:
- 1 and 3/4 cups all-purpose flour
- 3/4 cup unsweetened cocoa powder
- 2 cups granulated sugar
- 1 and 1/2 teaspoons baking powder
- 1 and 1/2 teaspoons baking soda
- 1 teaspoon salt
- 2 large eggs
- 1 cup buttermilk
- 1/2 cup vegetable oil
- 2 teaspoons vanilla extract
- 1 cup boiling water
For the Oreo Frosting:
- 1 cup unsalted butter, softened
- 4 cups powdered sugar
- 1/2 cup heavy cream
- 1 teaspoon vanilla extract
- 12 Oreos, finely crushed
For Decoration:
- Extra crushed Oreos
- Whole Oreos for topping
- Optional: chocolate ganache drizzle
Step-by-Step Instructions
1. Preheat the Oven and Prepare Pans
Preheat your oven to 350°F (175°C). Grease and flour two 9-inch round cake pans or line them with parchment paper. Preparing your pans properly is important because this cake is moist and you don’t want it sticking when it’s time to remove it.
2. Mix the Dry Ingredients
In a large bowl, sift together the flour, cocoa powder, sugar, baking powder, baking soda and salt. Sifting helps prevent lumps and ensures everything blends evenly, which gives your cake a light, even crumb.
3. Add Wet Ingredients
Add the eggs, buttermilk, oil and vanilla to the dry mixture. Beat with an electric mixer on medium speed until smooth. The batter will be thick at this stage but don’t worry, that’s exactly how it should look.
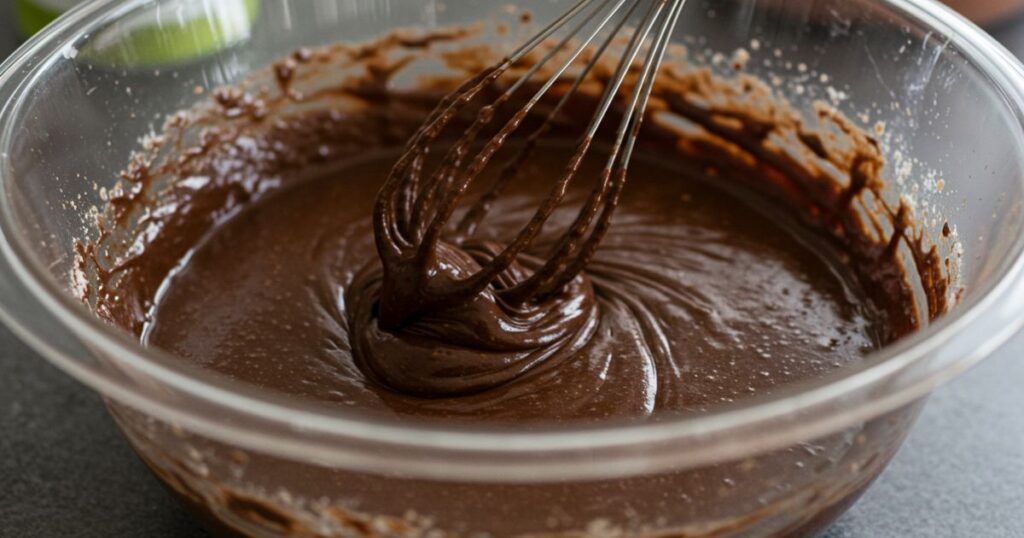
4. Incorporate Boiling Water
Carefully stir in the boiling water. The batter will thin out and become silky. This step helps activate the cocoa powder, deepening the chocolate flavor and making the cake extra moist. Pour the batter evenly into the prepared pans.
5. Bake the Cake
Bake in the preheated oven for 30–35 minutes, or until a toothpick inserted into the center comes out clean. Allow the cakes to cool in the pans for 10 minutes, then transfer them to a wire rack to cool completely.
6. Prepare the Oreo Frosting
While the cakes are cooling, make the frosting. Beat softened butter until creamy. Slowly add the powdered sugar, alternating with splashes of heavy cream. Once smooth and fluffy, stir in the crushed Oreos. The cookies should be finely crushed so they blend into the frosting without clogging your piping bag if you plan to decorate with it.
7. Assemble the Cake
Place one cooled cake layer on a serving plate or cake stand. Spread a generous amount of Oreo frosting on top, then add the second cake layer. Cover the top and sides with more frosting, smoothing it out with a spatula. You can keep it rustic or go for a polished finish, depending on your style.
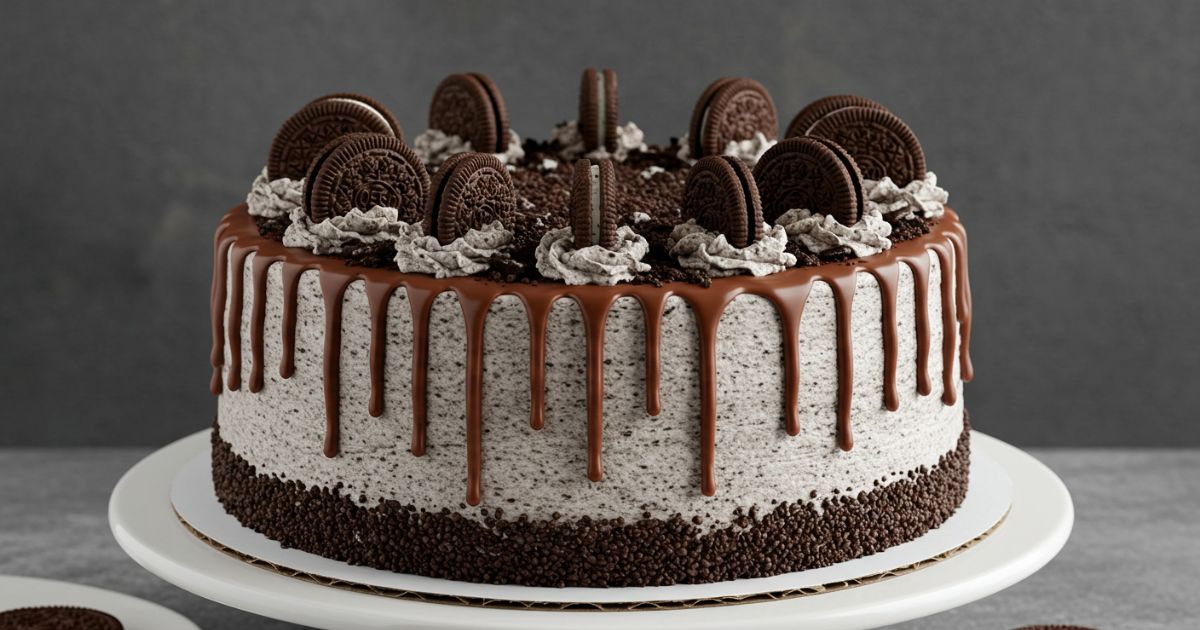
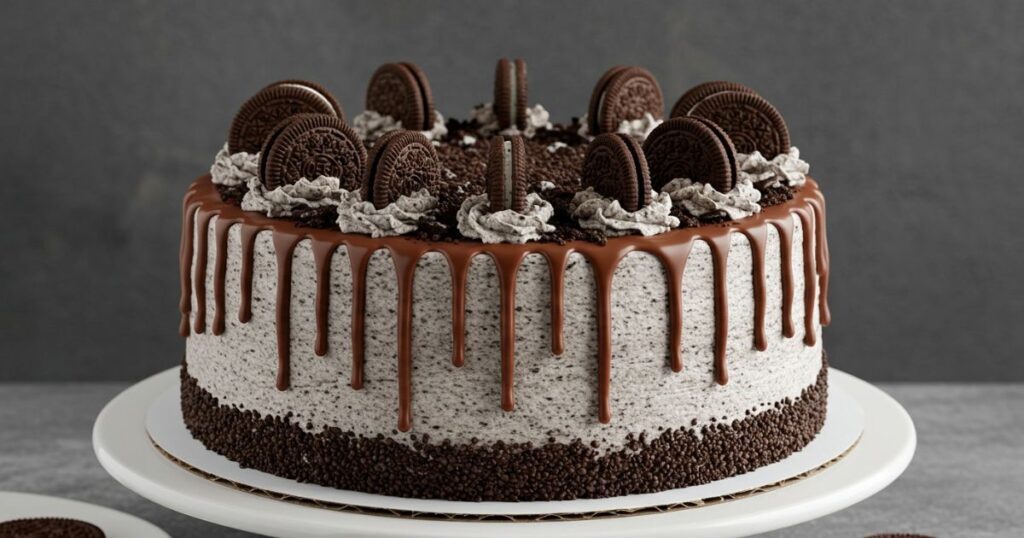
8. Decorate with Oreos
Sprinkle crushed Oreos over the top and press whole Oreos around the edges. If you’d like to make it extra decadent, drizzle chocolate ganache over the cake before adding the cookies. Decoration is where you can really make the cake your own, whether simple or dramatic, it’ll look amazing.
9. Slice and Enjoy
Once decorated, let the cake chill for about 20 minutes to firm up the frosting. Slice into generous pieces and enjoy the blend of moist chocolate cake and creamy Oreo frosting.
Tips for the Best Oreo Cake
- Use fresh Oreos: Stale cookies lose crunch, which affects the texture.
- Crush cookies finely: Larger chunks can clog frosting when spreading or piping.
- Don’t skip the boiling water: It keeps the cake moist and enhances the chocolate flavor.
- Chill before slicing: A short chill makes the cake easier to cut neatly.
Variations
- Oreo Cupcakes: Use the same batter and make cupcakes instead of a full cake. Top each with Oreo frosting and half an Oreo.
- Cookies and Cream Cheesecake Layer: Add a thin cheesecake layer between cakes for a showstopper dessert.
- Different Flavors: Try flavored Oreos like mint or peanut butter for a twist.
FAQs
Q: Can I make this cake ahead of time?
A: Yes. Bake the cake layers a day ahead, wrap tightly in plastic wrap, and frost the next day.
Q: Can I freeze Chocolate Oreo Cake?
A: Absolutely! Freeze unfrosted cake layers for up to 2 months. Thaw overnight before frosting.
Q: Can I use whipped cream instead of buttercream?
A: Yes, but it won’t hold up as long. If serving immediately, whipped cream works well.
Final Thoughts
This Chocolate Oreo Cake is a dream dessert for cookie lovers. With moist chocolate layers, fluffy Oreo frosting, and that signature cookies-and-cream crunch, it’s guaranteed to be a hit at any gathering. Whether you’re celebrating a birthday or simply craving something sweet, this cake delivers big on flavor and fun.
If you’ve tried recipes like Oreo cheesecake brownies, you’ll love how this cake takes that same chocolate and cookie magic to the next level. So, grab your Oreos and get baking this one recipe you’ll want to make again and again.