Step-by-Step Chocolate Croissant Recipe for Home Bakers
There is something magical about pulling a tray of chocolate croissants out of the oven. The buttery layers puff up beautifully, and the smell of melted chocolate fills the entire kitchen. I have baked these pastries for family breakfasts and also for small gatherings with friends. Every time they bring the same reaction. People are amazed that homemade croissants can look and taste this good.
Croissants do take a little patience. The folding, rolling, and chilling can feel different compared to regular baking. Yet every step matters because it builds the flaky layers. Once you taste one fresh out of the oven, you will see that the effort is worth it. For an extra touch you can drizzle them with a simple topping from the Chocolate Ganache Recipe.
This recipe shows you exactly how to get there. If you enjoy chocolate in other recipes like Chocolate Swiss Rolls, then you will absolutely enjoy this pastry as well.

Why You Will Love This Recipe
Chocolate croissants are a special kind of treat. They combine buttery pastry with melted chocolate in a way that feels luxurious but also comforting. Unlike simple bread, croissants have layers that shatter slightly when you bite into them. That crisp bite gives way to soft dough inside and then to chocolate that melts on your tongue.
When I make these at home I always think of them as a bakery experience without leaving the kitchen. They are not something you eat every day, which is why they feel so special when you do.
Ingredients You Will Need for Chocolate Croissant Recipe
Here is everything you need before starting.
- 4 cups all-purpose flour
- ¼ cup granulated sugar
- 2 ¼ teaspoons active dry yeast
- 1 teaspoon salt
- 1 ½ cups cold unsalted butter for laminating
- 1 ¼ cups warm milk
- 1 large egg for egg wash
- 1 tablespoon water for egg wash
- 1 cup chocolate sticks or chopped good quality chocolate
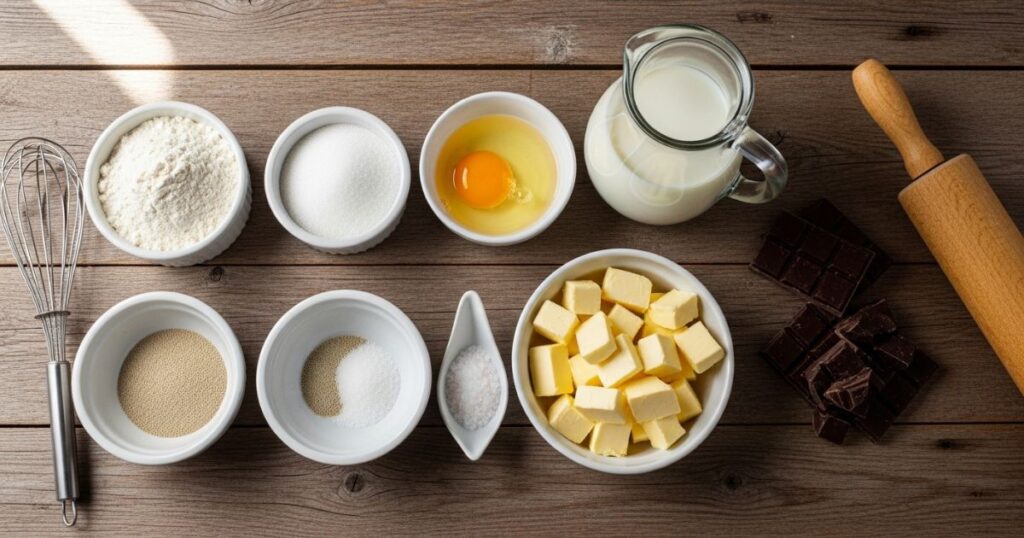
Tip: Using quality chocolate really changes the outcome. It melts smoothly and adds a deeper flavor.
Step by Step Instructions
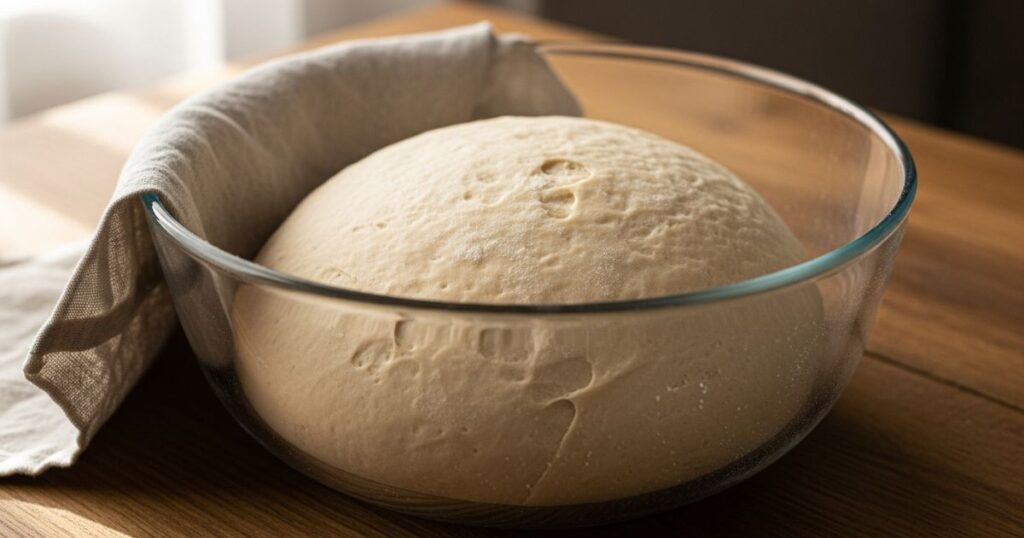
Step 1: Prepare the Dough
Begin by mixing the warm milk with sugar and yeast in a large bowl. Let it sit for about ten minutes until it turns frothy. This shows that the yeast is active. Add the flour and salt and then mix until a soft dough forms. Knead the dough by hand or with a stand mixer for about five minutes until smooth. Cover the bowl with plastic wrap and refrigerate the dough for at least an hour. This chilling makes it easier to laminate later.
Step 2: Make the Butter Block
Take the cold butter and shape it into a rectangle that is about half an inch thick. Place the butter between two pieces of parchment paper and roll it gently to even out the thickness. Put the butter back into the refrigerator so it stays firm but still workable. This block is what gives the croissants their signature flakiness.
Step 3: Laminate the Dough
Roll the chilled dough into a large rectangle on a floured surface. Place the butter block in the center and fold the dough over it like an envelope. Roll the dough into a longer rectangle and then fold it into thirds like a letter. This is the first turn. Place the dough back into the refrigerator for thirty minutes. Repeat this rolling and folding process two more times. Each turn adds more layers. These layers are what make croissants light and airy.
Step 4: Shape the Croissants
Roll the laminated dough into another rectangle once the final chill is done. Cut it into smaller rectangles that can be rolled easily. Place a chocolate stick or a few pieces of chopped chocolate near the edge of each piece. Roll the dough tightly around the chocolate and tuck the seam underneath. Arrange the croissants on a tray lined with parchment paper.
Step 5: Proof the Croissants
Leave the shaped croissants in a warm spot for about one to two hours. They should look puffed and airy by the end of this time. Proofing is important because it allows the yeast to expand the dough. Rushing this step will result in heavy pastries rather than light layers.
Step 6: Egg Wash
Whisk the egg with a tablespoon of water and brush the mixture lightly over the tops of the croissants. This gives them a glossy golden crust.
Step 7: Bake
Preheat the oven to 400°F or 200°C. Bake the croissants for fifteen to eighteen minutes until the tops are deep golden brown. The smell during this step is enough to make anyone hungry.
Step 8: Cool and Serve
Allow the croissants to cool for at least ten minutes before serving. The chocolate inside will still be warm and soft which makes every bite a treat.

Variations You Can Try
- Add chopped hazelnuts or almonds inside with the chocolate.
- Spread a thin layer of raspberry jam before adding the chocolate.
- Make mini croissants for bite-sized treats.
- Replace dark chocolate with white chocolate for a sweeter taste.
Tips for Success
- Chill the dough often. Cold butter makes the layers crisp and distinct.
- Use quality chocolate to avoid waxy or bland flavor.
- Allow enough time for proofing before baking.
- Bake on parchment paper for easy cleanup.
- Eat them fresh. They are at their best while still warm.
Storing and Reheating
Croissants are best eaten the day they are baked. If you have leftovers, store them in an airtight container at room temperature for one or two days. You can also refrigerate them for up to five days but always reheat before serving.
To reheat baked croissants place them in the oven at 350°F or 175°C for about five minutes. They will regain their crisp edges and soft centers. Unbaked croissants can be frozen right after shaping. When you want to bake them, thaw overnight, proof, and then bake as usual.
Final Thoughts
Making chocolate croissants at home feels like a baking adventure. It does take a little time and patience but the end result is worth every minute. With this recipe you get rich buttery pastry and melted chocolate in each bite. That combination is hard to resist.
Every time I bake them, they remind me why pastries are so loved. They are not just food. They are small moments of joy that you can share with people you love. Once you master this recipe, you will want to make it again and again.