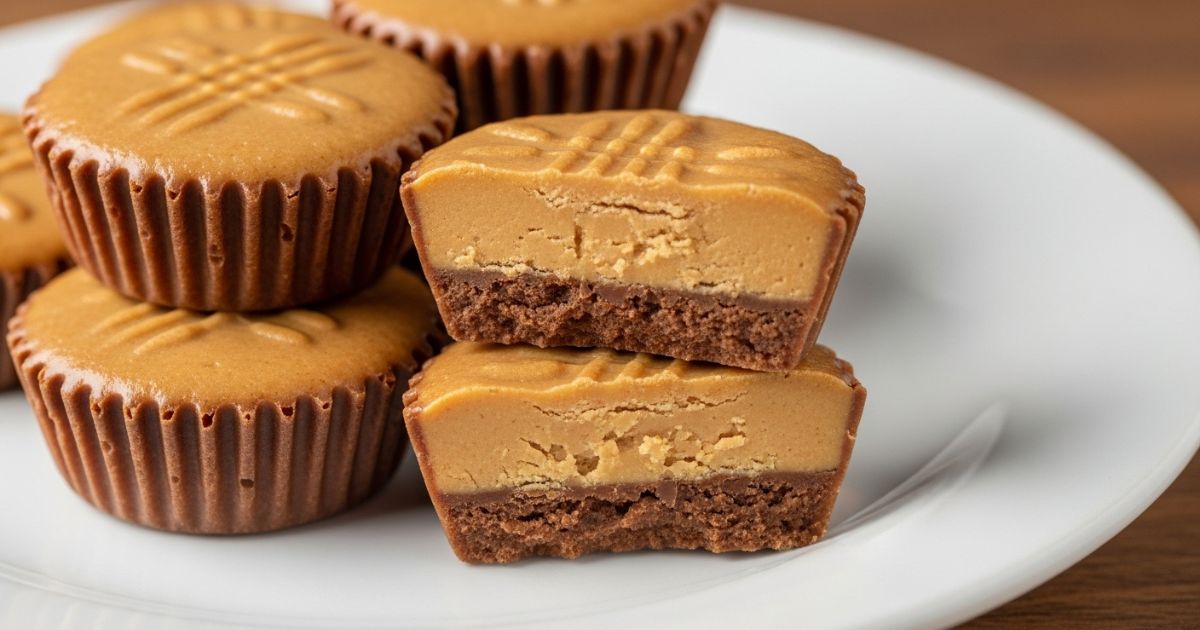
Homemade Peanut Butter Cups for Chocolate Lovers
I made this batch of homemade peanut butter cups on a day when I wanted a sweet snack that did not feel heavy or complicated. The idea came to me when I opened my pantry and saw a bag of chocolate chips next to a jar of creamy peanut butter. The thought of combining them into soft little cups sounded comforting, so I started melting the chocolate right away. Once the chocolate warmed and the peanut butter filling turned soft and smooth, the whole kitchen filled with a rich sweet smell that made me want to finish the recipe as soon as possible.
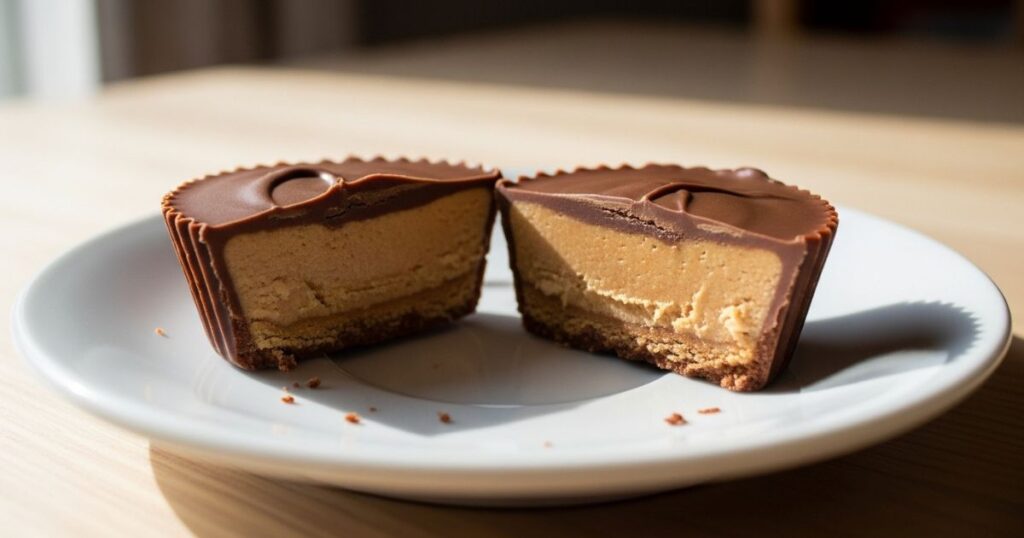
These cups are simple to prepare and taste warm and creamy with every bite. When you bite into one, the chocolate gives a light snap then melts around the gentle peanut butter center. It feels like a treat you want to enjoy slowly. If you love homemade sweets that feel comforting and easy, you might enjoy my Honey Peach Cream Cheese Cupcake or my Toffee Crunch Cupcakes since both bring that same soft and sweet homemade charm.
What Makes These Peanut Butter Cups Special
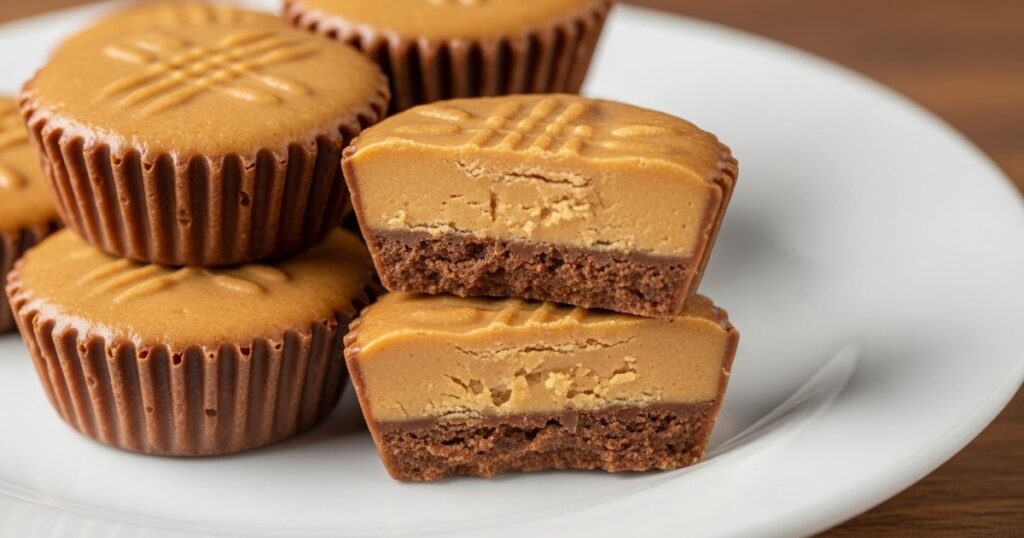
Homemade peanut butter cups taste fuller than store bought ones because the filling stays soft instead of dry. The chocolate also has a smooth melt since it is warmed gently. You can choose how thick you want each layer and how sweet or salty you want the filling. The cups look clean once chilled and stack well in containers. They make nice gifts and also serve as quick treats to enjoy after dinner.
You only need a few ingredients, and the steps stay the same each time you make them. The cups come out creamy and smooth even if you are new to homemade candy. The gentle flavor of peanut butter mixes well with the chocolate and creates a familiar taste that feels satisfying.
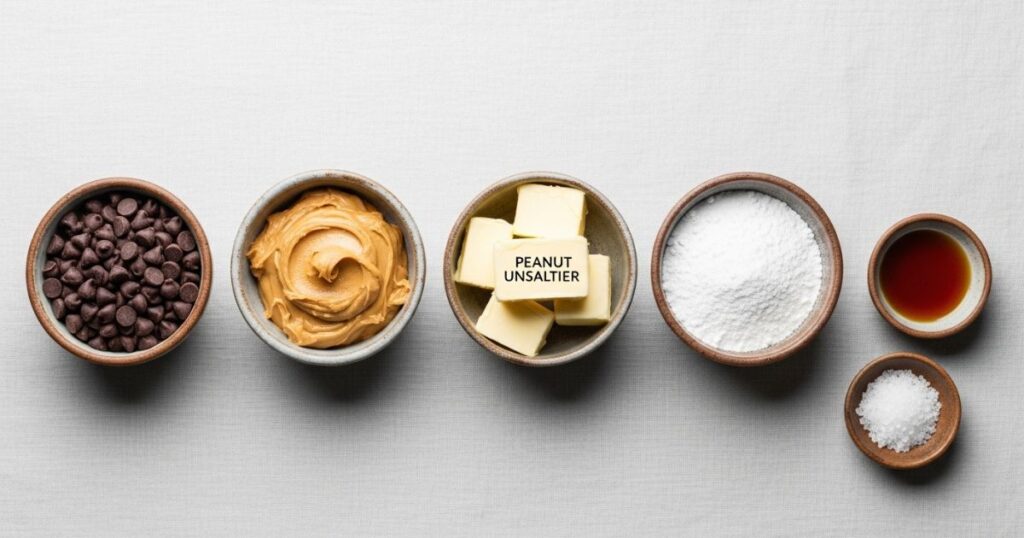
Ingredients You Will Need
- One and one half cups chocolate chips milk or dark
- Three fourths cup creamy peanut butter
- Two tablespoons softened butter
- One half cup powdered sugar
- One teaspoon vanilla extract
- Pinch of salt
Step by Step Instructions
Step 1: Prepare the muffin liners
Set paper liners in a muffin tray. Use mini liners for small cups or regular liners for larger ones. Press each liner into place so it sits flat. This lets the chocolate spread evenly and helps each cup hold a clean shape. Keep the tray on the counter so it is ready when the chocolate melts.
Step 2: Melt the chocolate
Place the chocolate chips in a microwave safe bowl. Heat the bowl for twenty seconds then stir. Repeat until the chocolate becomes smooth and glossy. The bowl will warm slowly which helps the chocolate melt without burning. Take your time stirring until every chip softens into a silky mixture. If it looks too thick, stir for a few more seconds so it loosens.
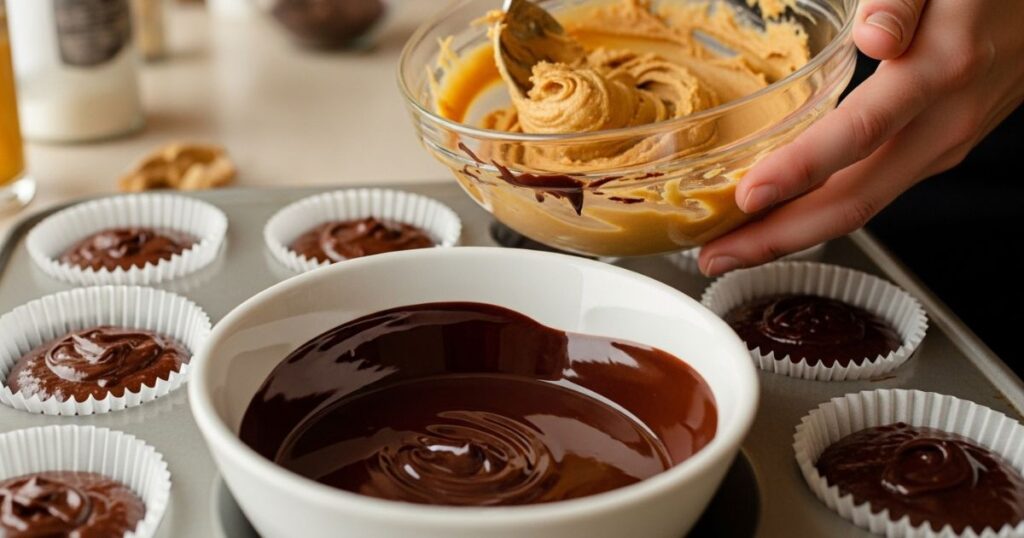
Step 3: Create the chocolate base
Scoop a small spoonful of melted chocolate into each liner. Spread it lightly by tilting the tray so the chocolate touches the sides. This thin layer forms the base of the peanut butter cup and keeps the filling in place. Place the tray in the freezer for five to seven minutes so the layer sets. When it firms, it will hold the filling without sinking.
Step 4: Make the peanut butter filling
In a clean bowl, mix the peanut butter, softened butter, powdered sugar, vanilla, and salt. Stir slowly at first then mix until the filling becomes creamy and smooth. The mixture should feel soft enough to shape but firm enough to hold its form. If the filling seems stiff, stir longer until it blends into a smooth steady texture. Taste a small bit to check the sweetness and adjust as needed.
Step 5: Add the filling
Remove the tray from the freezer. Scoop a small amount of filling and roll it gently between your fingers. Place each portion on top of the firm chocolate base. Press lightly so the filling spreads out a little without touching the edges. Leaving space around the sides lets the top layer of chocolate flow down and seal the cup fully.
Step 6: Cover with more chocolate
Spoon melted chocolate over each mound of filling. Spread the chocolate with the back of a spoon so it reaches the edges of the liner. Once the filling is covered fully, tap the tray lightly on the counter. This removes air bubbles and helps the chocolate settle into a smooth surface. Make sure each cup looks even and filled to the top.
Step 7: Chill until set
Place the tray in the fridge for at least twenty five minutes. The chocolate will firm and the filling will settle into a soft creamy center. If you want a firmer cup, chill for thirty five minutes. When ready, peel the liners away slowly. The cups should lift out easily with clean edges and smooth surfaces.
Helpful Tips
Use creamy peanut butter for the best texture. Stir the chocolate often so it melts evenly. Keep the filling centered so the top layer seals nicely. Do not rush the chilling time since slow cooling gives the cups a smooth finish.
How to Store
Keep the cups in an airtight container in the fridge. They stay fresh for a full week. If you want to store them longer, freeze them. Place parchment between the layers so they do not stick. Let them warm for a few minutes before eating so the filling softens.
Variations You Can Try
- Add crushed pretzels to the filling for a light salty flavor
- Mix in small chocolate chunks for extra richness
- Add a pinch of cinnamon for warm sweetness
- Use white chocolate for a sweeter cup
Each idea changes the flavor slightly while keeping the smooth peanut butter center that makes these cups special.
FAQs
Can I use natural peanut butter
Yes, but the filling may become grainy. Regular creamy peanut butter gives the smoothest texture.
Can I make the chocolate layer thicker
Yes. Add more chocolate to the base and top for a stronger shell.
Do the cups melt at room temperature
They soften if left out too long. They keep the best texture when stored in the fridge.
Can I use other nut butters
Yes. Almond or cashew butter work well and give a different flavor.
Closing Thoughts
These homemade peanut butter cups are simple to prepare and carry a rich creamy flavor that feels satisfying. The chocolate shell melts slowly while the center stays soft. The recipe is easy enough for beginners and comforting enough for those who enjoy classic homemade sweets. Once you make a batch, you may find yourself preparing them often since they work well for snacks, gifts or after dinner treats.

