
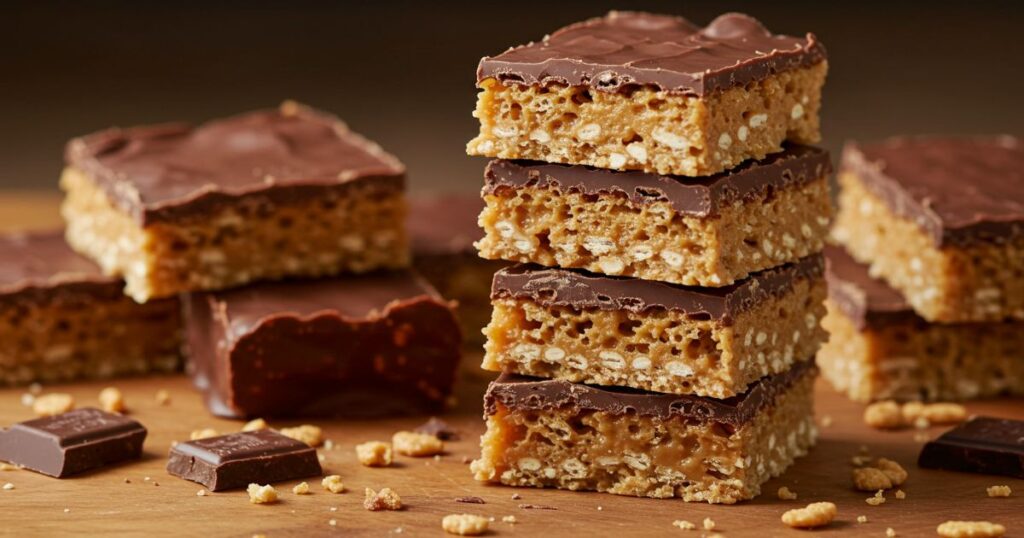
If you’ve ever craved a candy bar but wanted a healthier version, these Healthy Homemade Butterfingers are a must-try. I made these at home recently and they disappeared faster than I expected. The crispy texture, peanut butter flavor, and smooth chocolate coating make them taste like the real thing but without the guilt. If you love making fun candy-style treats, this recipe is just as exciting as creating your own kit kat bar from scratch.
These bars are a no-bake recipe, which means you don’t need to spend hours in the kitchen. With only a handful of pantry ingredients, you can whip them up quickly for a snack, dessert, or even as a sweet party treat. They’re fun to make family-friendly and taste so indulgent you’ll forget they’re made with simple and wholesome ingredients.
Why You’ll Love This Recipe
Healthy Homemade Butterfingers have all the qualities of a candy bar while being made with simple, real-food ingredients. The natural peanut butter brings richness, cornflakes add crunch, and a smooth chocolate coating tie everything together. Unlike store-bought candy, you know exactly what’s going inside and you can control the sweetness.
They’re also versatile. You can cut them into bars, bite-sized squares, or even shape them into little rounds for lunchbox treats. These are great for kids, family gatherings, or as a homemade gift. The best part? No oven is needed, and the process is fun enough to get little helpers involved.
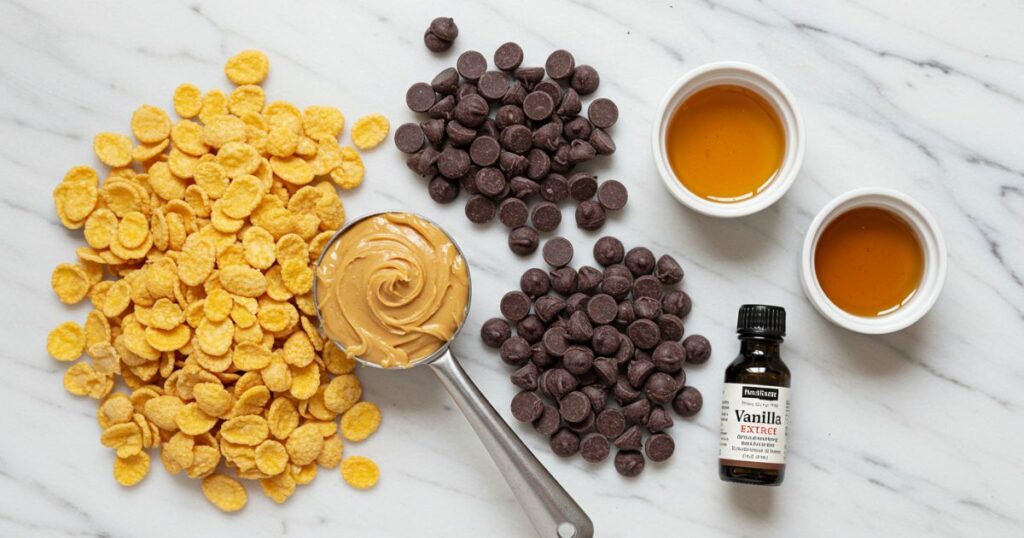
Ingredients for Healthy Homemade Butterfinger
- 1 cup natural creamy peanut butter
- 2 ½ cups cornflakes (crushed)
- 1 cup semi-sweet chocolate chips
- ¼ cup honey
- 1 teaspoon vanilla extract
Step-by-Step Instructions
Step 1: Prepare the Cornflakes
Start by crushing your cornflakes into smaller pieces. Place them inside a resealable bag and gently press them with a rolling pin until you have a mix of small chunks and crumbs. If you prefer an extra fine texture, you can also pulse them lightly in a food processor. The goal is to break them down enough to mix smoothly with the peanut butter, but not so fine that they lose all crunch. This step makes a big difference in how your final Butterfingers turn out, since the texture is what sets them apart from other candy bars.
Step 2: Make the Peanut Butter Mixture
Grab a medium-sized saucepan and place it over low heat. Add the peanut butter and honey, stirring constantly with a wooden spoon or spatula. As the mixture warms, it becomes smooth and glossy. Be careful not to overheat as peanut butter can burn quickly. Once the honey and peanut butter are fully blended, remove from heat and stir in the vanilla extract. The vanilla gives a light aroma and balances the sweetness creating a rich base for the bars.
Step 3: Combine Peanut Butter and Cornflakes
Now pour the warm peanut butter mixture over the crushed cornflakes in a large bowl. Use a spatula to fold the mixture until every flake is coated. This part may take a little patience, but it’s worth it. The mixture should be sticky and thick almost like a heavy dough. If it feels too dry, you can add an extra tablespoon of peanut butter or honey to bring everything together. The better the coating, the crunchier and more flavorful your Butterfingers will be.
Step 4: Shape the Bars
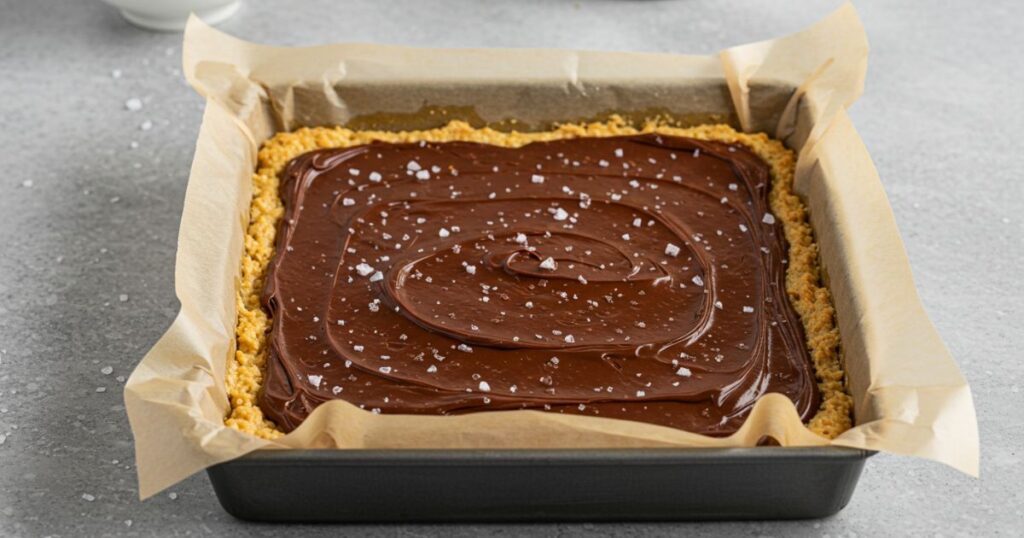
Line a square baking dish with parchment paper, leaving a little overhang so you can easily lift the bars out later. Transfer the mixture into the dish and press it down firmly with a spatula or the back of a measuring cup. Make sure the surface is as even as possible. This step is important because it determines how neat your bars will look once sliced. Pressing the mixture tightly also ensures the bars hold their shape instead of crumbling when cut.
Step 5: Melt the Chocolate
Place your chocolate chips in a microwave-safe bowl. Heat them in 20-second intervals, stirring after each round, until smooth and melted. If you prefer, you can also use a double boiler on the stove. The chocolate should be silky and pourable, without any lumps. If it feels too thick, you can stir in half a teaspoon of coconut oil for a shinier, softer coating.
Step 6: Coat the Bars
Once the base mixture has cooled slightly, slice it into bar-shaped pieces. Dip each bar into the melted chocolate, making sure all sides are covered. A fork works best here to lift the bars out without too much mess. Place each coated bar onto a parchment-lined tray. For an extra candy-bar feel, you can drizzle a little extra chocolate on top for decoration. This step adds the classic candy look and makes them feel extra special.
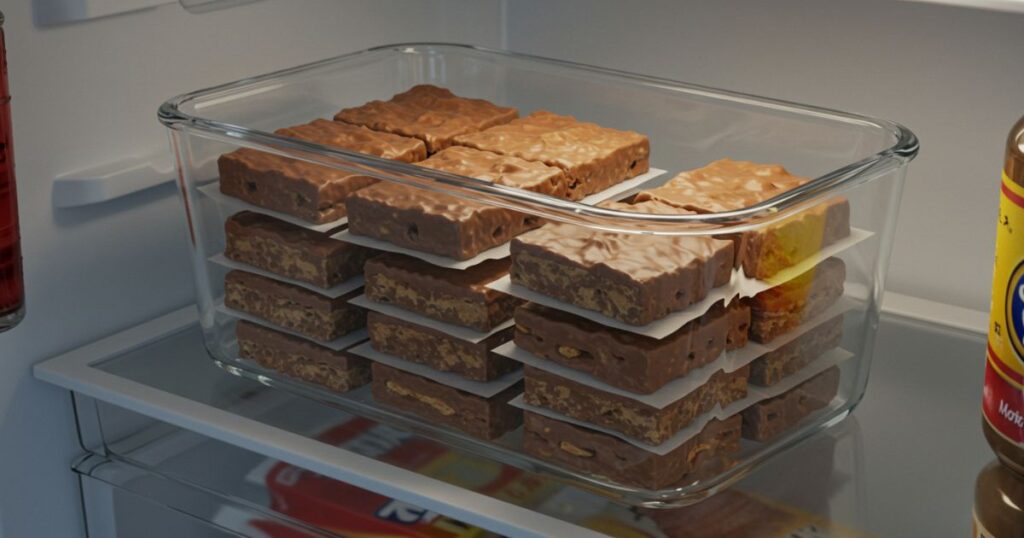
Step 7: Chill and Set
Transfer the tray of chocolate-coated bars into the refrigerator. Let them chill for at least 1 hour or until the chocolate has hardened completely. This cooling time is essential because it allows the bars to firm up, making them easier to handle and bite into. Once set, lift the parchment paper from the pan and slice your bars into even pieces if you haven’t already. At this stage, you’ll see the glossy chocolate exterior with the crunchy peanut butter interior peeking through, ready to be enjoyed.
Tips for the Best Butterfinger Bars
- Use natural peanut butter for the best flavor and smoother texture.
- Don’t over-crush the cornflakes; some texture makes the bars better.
- Chill the bars long enough for the chocolate to fully harden.
- Add a pinch of sea salt on top before chilling for a sweet-salty twist.
- Store the bars in an airtight container in the fridge for up to a week.
Storing and Freezing
- Fridge: Keep them in an airtight container for up to 7 days.
- Freezer: Wrap the bars in parchment and place them in a freezer-safe bag for up to 3 months. Thaw at room temperature before eating.
FAQs
Q: Can I use crunchy peanut butter instead of creamy?
A: Yes, crunchy peanut butter will add even more texture.
Q: Can I replace cornflakes with another cereal?
A: Rice Krispies or bran flakes can also work, but cornflakes give the closest texture to classic Butterfingers.
Q: Can I make these vegan?
A: Swap honey for maple syrup and use dairy-free chocolate chips.
Q: Do these taste like real Butterfingers?
A: They’re not identical, but the crunch and peanut butter flavor come very close.
Q: Can I use dark chocolate instead of semi-sweet?
A: Absolutely. Dark chocolate gives a richer flavor and balances the sweetness nicely.
Final Thoughts
Making these Healthy Homemade Butterfingers is so much fun and the end result is incredibly satisfying. They’re crunchy, chocolatey, and naturally sweetened making them a better option than store-bought candy. For more sweet ideas, you can also try bakery-style favorites like the Maple Donut Bar which has its own irresistible charm. Whether you’re making these for yourself, kids, or a party, they’ll always be a hit.
