

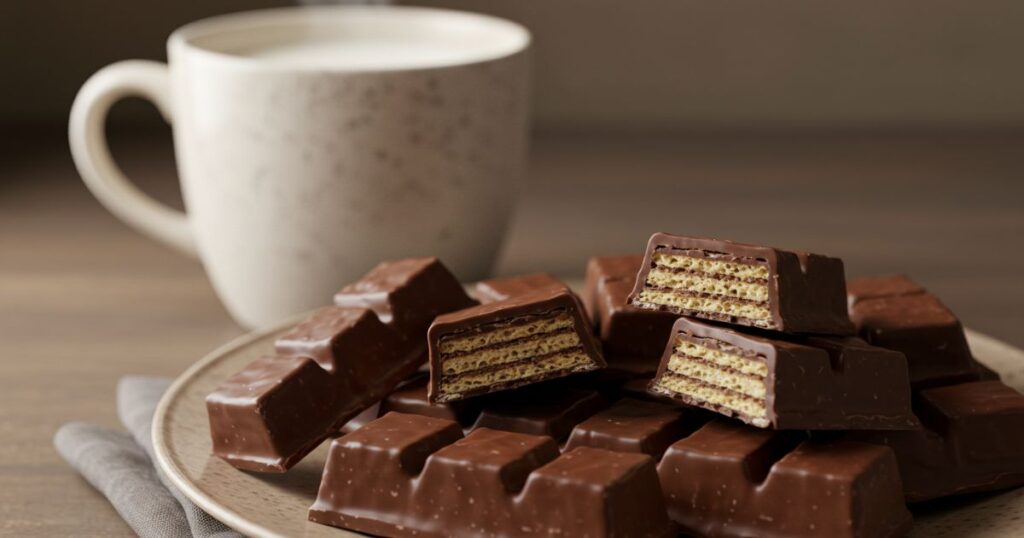
Last weekend, I made a big batch of Homemade Kit Kat Bars for a movie night with friends, and they disappeared faster than popcorn. Everyone was grabbing seconds and asking how I made them. The best part is they don’t require baking, and the recipe is simple enough to put together in less than an hour. With layers of crispy wafers and smooth chocolate, these bars bring all the joy of store-bought Kit Kats but with that special homemade touch.
If you’ve ever wanted to try making candy at home, this recipe is a great place to start. The process is straightforward, and the result is a crunchy and chocolatey treat that tastes even better than the original. These bars are also fun to wrap individually and share at gatherings or pack in lunchboxes. Let’s go step by step so you can whip up your own batch of these irresistible bars.
Why You Should Try Homemade Kit Kat Bars
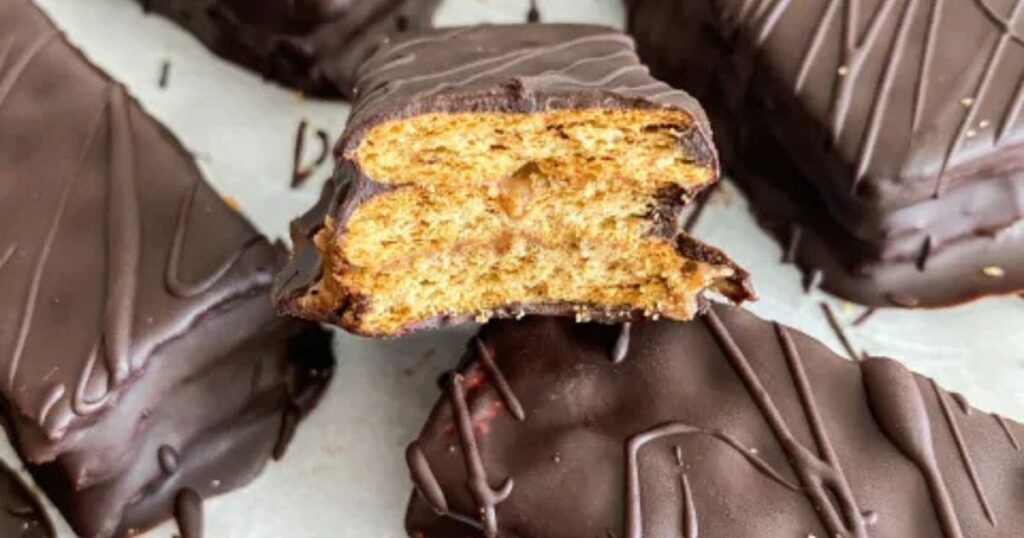
Homemade Kit Kat Bars are a fantastic mix of textures and flavors. The crispy wafers give each bite a crunch similar to Protein balls while the melted chocolate adds richness. Unlike packaged candy, you can customize them by using milk, dark or even white chocolate. They’re also easy to make in big batches, which makes them perfect for parties, potlucks or even gift baskets.
Ingredients for Homemade Kit Kat Bars
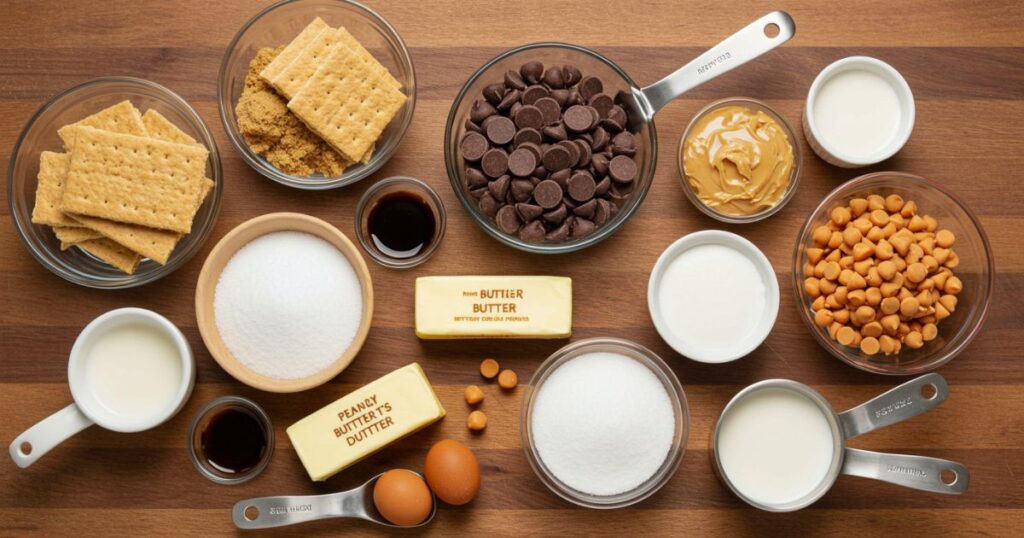
Here’s everything you’ll need to make these no-bake bars:
- 1 package of graham crackers or plain wafer cookies
- 2 cups milk chocolate chips (or dark chocolate if you prefer)
- 1 cup butterscotch chips (optional but adds amazing flavor)
- 1/2 cup creamy peanut butter
- 1/2 cup unsalted butter
- 1/2 cup granulated sugar
- 1/2 cup brown sugar (packed)
- 1/4 cup whole milk
- Pinch of salt
- 1 teaspoon vanilla extract
Step-by-Step Instructions
Let’s walk through the process of making these layered treats at home.
1. Prepare Your Baking Pan
Line a 9×13-inch baking pan with parchment paper or lightly grease it with butter or nonstick spray. Make sure the parchment hangs slightly over the edges this will make it easier to lift the bars out later. Taking this extra step now will save you from any sticky mishaps when it’s time to cut your dessert.
2. Make the First Chocolate Layer
In a microwave-safe bowl or using a double boiler, melt 1 cup of chocolate chips together with half of the peanut butter. Stir continuously until the mixture becomes smooth, glossy, and completely combined. Pour half of this silky chocolate mixture into the prepared pan. Use a spatula to spread it evenly across the bottom covering every corner. Place the pan in the refrigerator for about 10 to 15 minutes to allow this first layer to firm up while you prepare the next step.
3. Create the Wafer Filling
In a medium saucepan over medium heat melt the butter slowly, making sure it doesn’t brown. Add both the granulated sugar and brown sugar, then pour in the milk. Stir constantly until the sugars dissolve completely and the mixture thickens slightly into a golden, caramel-like consistency. Remove from heat and stir in the vanilla extract for a fragrant, sweet aroma. Carefully arrange a layer of graham crackers or wafer cookies on top of the chilled chocolate base, ensuring they cover it evenly. Pour the warm sugar-butter mixture evenly over the cookies, letting it seep into the gaps and coat them beautifully.
4. Repeat the Layers
Place another layer of crackers on top of the caramel filling, pressing gently to ensure they stick. In a clean bowl, melt the remaining chocolate chips, butterscotch chips, and peanut butter together until smooth and creamy. Pour this final chocolate mixture over the crackers, spreading it carefully with a spatula to form a smooth, even topping that covers every edge. This creates a rich, layered look that will make each bite decadent.
5. Chill Until Set
Refrigerate the pan for at least 2 hours, or until the bars feel firm and the layers hold together well. When ready, use the overhanging parchment paper to lift the entire block out of the pan with ease. Use a sharp knife, warmed slightly under hot water and wiped dry, to slice the bars cleanly into squares or rectangles without cracking the chocolate topping.
6. Serve and Enjoy
These bars are delicious straight from the fridge, with a firm, chewy texture, but they also taste delightful at room temperature when the chocolate and caramel are slightly softer. Serve them with a cup of coffee, a cold glass of milk, or enjoy a bar as a sweet afternoon treat to satisfy your cravings. Store any leftovers in an airtight container in the refrigerator for up to a week—or freeze for longer keeping.
Tips for the Best Homemade Kit Kat Bars
- Use good quality chocolate: The flavor really shines, so choose a chocolate you love eating on its own.
- Let each layer chill properly: This keeps the bars from sliding apart when you cut them.
- Add extra crunch: Try sprinkling crushed nuts or pretzels between the layers for a fun twist.
- Cut with a sharp knife: For neat edges, dip the knife in hot water and wipe it before each cut.
Storing and Freezing Homemade Kit Kat Bars
- Storing: Keep your bars in an airtight container in the refrigerator for up to one week.
- Freezing: Wrap bars individually in parchment and freeze in a container for up to three months. Thaw them in the fridge before serving.
FAQs
Q: Can I use dark chocolate instead of milk chocolate?
A: Absolutely! Dark chocolate will give the bars a richer, less sweet flavor.
Q: Do I have to use butterscotch chips?
A: Not at all. They add a unique flavor, but you can skip them or replace with more chocolate chips.
Q: Can I make these without peanut butter?
A: Yes, you can replace peanut butter with almond butter, cashew butter, or even leave it out.
Q: How do I get clean slices without breaking the bars?
A: Use a hot sharp knife, pressing down firmly instead of sawing. This prevents cracking.
Q: Are these safe for kids’ lunchboxes?
A: Yes, they’re great for lunchboxes. Just check for nut allergies before sharing.
Why You’ll Love Homemade Kit Kat Bars
Homemade Kit Kat Bars are the kind of treat that makes everyone smile. They’re crunchy, chocolatey and easy to make in big batches. The no-bake process keeps things simple, and you can even customize them with different chocolate or nut butter. Whether you’re making them for a party, a family snack, or to treat yourself after a long day, these bars bring that nostalgic candy bar flavor with a homemade twist.
Final Thoughts
Trying out Homemade Kit Kat Bars reminded me how fun it is to recreate classic candies at home. The combination of crispy layers and rich chocolate is impossible to resist, and the recipe is simple enough for anyone to master. Next time you’re craving something sweet, skip the store-bought candy and make a tray of these instead. They’ll impress your family, wow your friends, and might just become your go-to treat for gatherings.
