

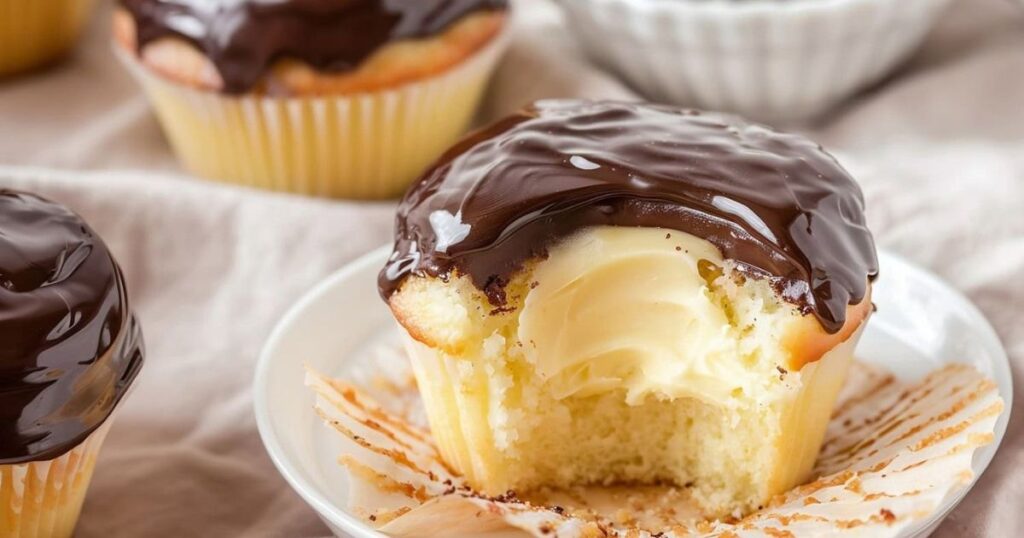
Boston Cream Cupcakes take a classic dessert and turn it into something you can hold in your hand. Each bite is soft, creamy, and topped with smooth chocolate. They bring the same rich flavors of Boston Cream Pie, but in a smaller, more fun way. People love how simple they are to serve and enjoy no slicing, no mess. Whether you’re baking for a party, birthday, or just craving something sweet, these cupcakes never disappoint.
In this guide, you’ll find step-by-step instructions, tips for getting the texture just right, and answers to common baking questions. This recipe uses real ingredients, safe methods, and tested steps that make baking easy and rewarding for everyone.
Why People Love Boston Cream Cupcakes
Most desserts come and go, but Boston Cream has stood the test of time. The combination of light cake, creamy vanilla filling, and rich chocolate ganache brings comfort and nostalgia in every bite. Turning this beloved dessert into cupcakes makes it even more special.
Smaller portions mean easier serving and quicker cleanup. Guests enjoy having their own individual treat, especially when the center is filled with cool, smooth custard. It feels like a surprise inside something already delicious. These cupcakes give you a bakery-style result without needing professional skills.
A Bit of History
Boston Cream Pie wasn’t always a cupcake. It started as a layered cake created in the 1800s. A chef at the Parker House Hotel in Boston combined sponge cake, custard filling, and chocolate glaze into a single dessert. Over time, that recipe became famous across the country. Now, it’s even recognized as the official dessert of Massachusetts.
Cupcake versions are newer, but the idea remains the same: soft cake, creamy center, and chocolate on top. Home bakers love them because they’re easier to share and quicker to make than a full pie or layered cake.
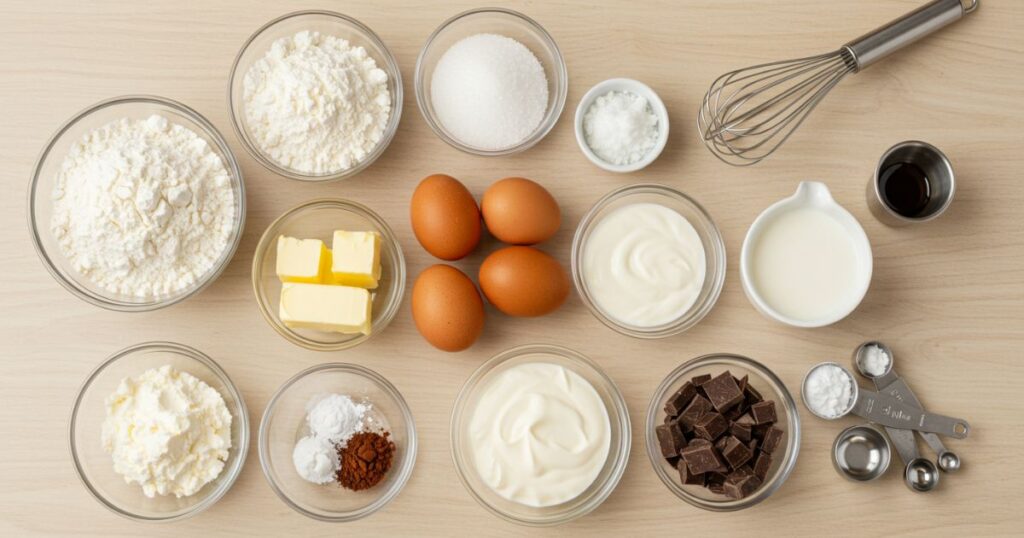
Ingredients You’ll Need
Each part of this recipe uses simple, everyday ingredients. You may already have most of them in your kitchen.
For the Cupcakes:
- 1 ½ cups all-purpose flour
- 1 ½ teaspoons baking powder
- ¼ teaspoon salt
- ½ cup unsalted butter (softened)
- ¾ cup granulated sugar
- 2 large eggs
- 1 teaspoon vanilla extract
- ½ cup whole milk
For the Vanilla Filling:
- 1 cup whole milk
- 2 egg yolks
- ¼ cup granulated sugar
- 1 tablespoon cornstarch
- 1 teaspoon vanilla extract
- 1 tablespoon unsalted butter
For the Chocolate Ganache:
- ½ cup heavy cream
- 4 ounces semi-sweet chocolate, chopped
Using fresh eggs and good-quality chocolate improves both flavor and texture. Make sure to measure each ingredient correctly and keep everything clean during the process.
Step-by-Step Instructions
The process is easy to follow, and each step helps build the final flavor.
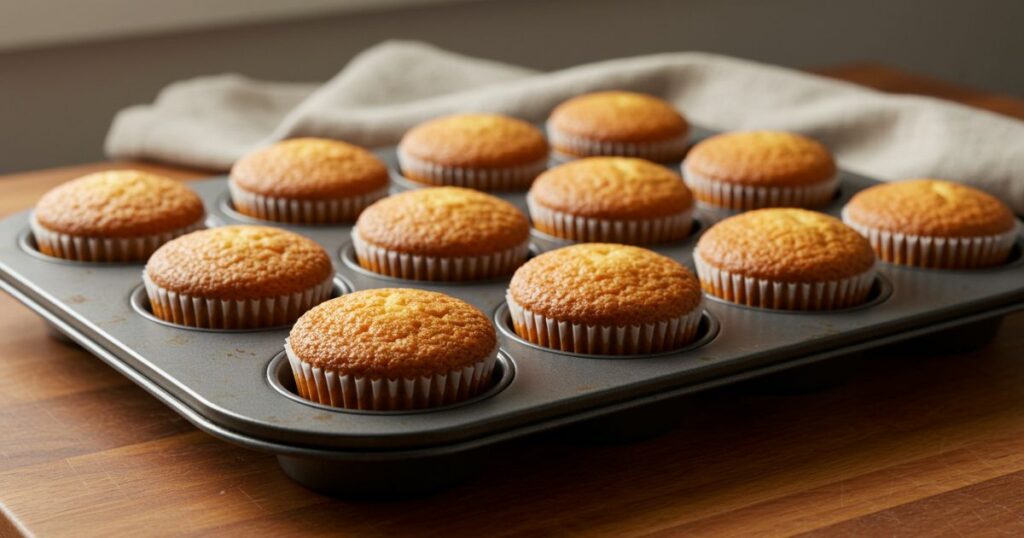
1. Bake the Cupcakes
Start by preheating your oven to 350°F (175°C). Line a 12-cup muffin tin with paper liners. In a small bowl, whisk together the flour, baking powder, and salt.
In a larger bowl, beat the softened butter and sugar until light and fluffy. This should take 2–3 minutes. Add the eggs one at a time, mixing well after each. Stir in the vanilla.
Alternate adding the flour mixture and milk to the butter mixture. Begin and end with flour. Mix until smooth, but avoid overmixing.
Divide the batter evenly among the cupcake liners. Bake for 18–20 minutes, or until a toothpick inserted into the center comes out clean. Let the cupcakes cool completely before filling.
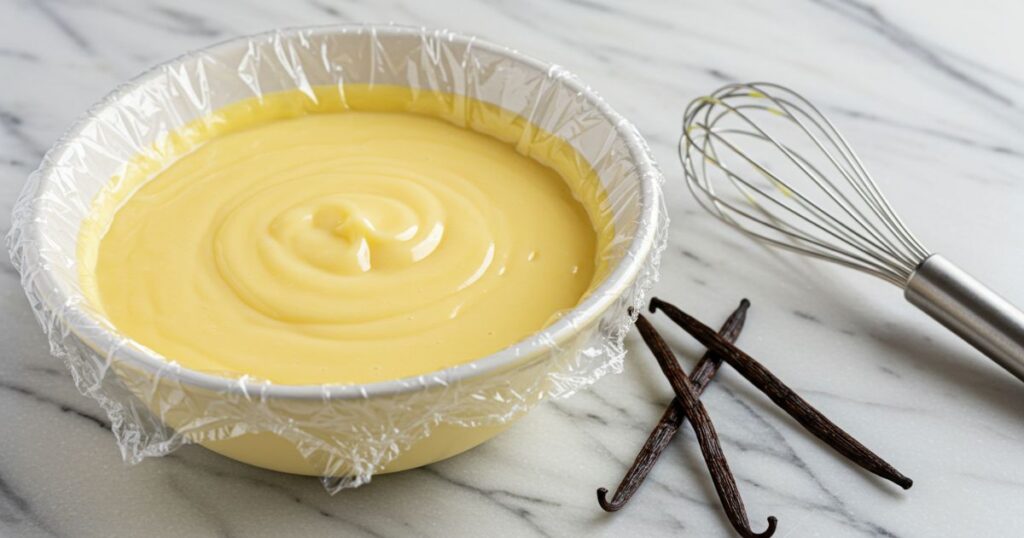
2. Make the Vanilla Cream Filling
Heat the milk in a small saucepan over medium heat. In a separate bowl, whisk the egg yolks, sugar, and cornstarch until smooth.
Slowly pour half of the hot milk into the egg mixture, whisking constantly to avoid curdling. Then pour it all back into the pan. Stir the mixture over medium heat until it thickens and starts to bubble.
Remove from heat and stir in the vanilla and butter. Transfer the cream to a bowl, cover the surface with plastic wrap, and chill until cold. This filling adds a soft, smooth surprise in every cupcake.
3. Prepare the Ganache
Place the chopped chocolate in a bowl. Heat the heavy cream until steaming, then pour it over the chocolate. Let it sit for one minute before stirring.
Keep stirring until the ganache is smooth and shiny. Let it cool for a few minutes to thicken slightly, but not harden.
4. Fill and Top the Cupcakes
Once the cupcakes are cool, use a small knife or cupcake corer to remove the center. Don’t go too deep, just enough to hold the cream.
Spoon or pipe the chilled vanilla filling into each cupcake. Then spread or drizzle ganache over the top.
Let the chocolate set for 10–15 minutes before serving. If you’re in a warm place, chill them for a few minutes.
Tips for the Best Results
Good cupcakes come from small details. Here are a few tips to help:
- Don’t overmix the batter. Gentle mixing keeps the cupcakes light.
- Let the custard filling cool completely before using it. This prevents the cupcakes from becoming soggy.
- Use a piping bag or small spoon for clean, easy filling.
- Store cupcakes in the fridge if you’re not serving them right away. They taste great chilled or at room temperature.
- Let ganache cool before adding it to avoid melting the cream underneath.
Storing Your Cupcakes
Since these cupcakes are filled with dairy, they need to be stored safely.
Place them in an airtight container and refrigerate for up to 3 days. You can serve them cold or let them come to room temperature for 15–20 minutes.
Freezing isn’t recommended because the cream filling may change texture after thawing. If you must freeze, do so before filling.
Flavor Variations You Can Try
Once you’ve made the classic version, you can get creative.
- Add a touch of espresso powder to the ganache for a coffee-chocolate flavor.
- Mix lemon zest into the filling for a light, citrus twist.
- Use chocolate cupcakes instead of vanilla for a double-chocolate treat.
- Top with chocolate shavings or a dollop of whipped cream before serving.
Small changes make a big difference. It’s fun to experiment once you’re comfortable with the basic steps.
Frequently Asked Questions (FAQs)
Q: Can I make these cupcakes ahead of time?
Yes. Bake the cupcakes and prepare the filling and ganache a day early. Store them separately, then assemble just before serving.
Q: What’s the best chocolate to use for ganache?
Semi-sweet or dark chocolate with at least 60% cocoa gives the richest flavor. Avoid using chocolate chips, as they may contain stabilizers.
Q: Can I use store-bought pudding as a shortcut?
You can. It won’t taste quite the same, but it works in a pinch. Just make sure it’s thick enough to hold inside the cupcake.
Q: How do I keep the cupcakes from getting soggy?
Let the custard chill and thicken fully before filling. Don’t overfill the cupcake centers. Store in a cool place.
Q: Are these safe for kids?
Yes. All ingredients are safe and familiar. Just store them properly and avoid serving too cold if you want a soft bite.
Q: Do I need a mixer?
A hand mixer makes things easier, but it’s not required. You can mix everything by hand if needed; just take your time with creaming the butter and sugar.
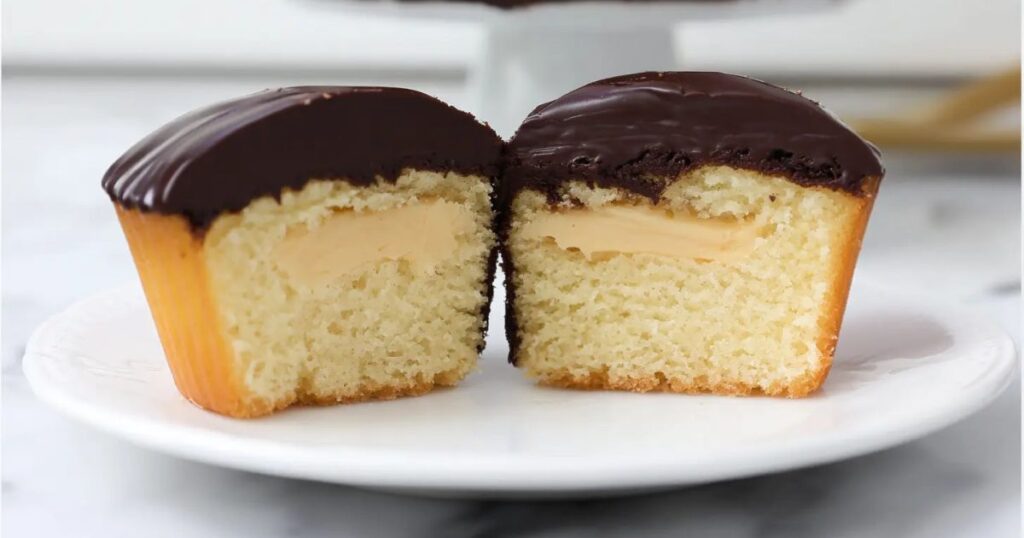
Why These Cupcakes Are Worth Making
Boston Cream Cupcakes bring together three textures in one bite: soft cake, creamy middle, and glossy chocolate on top. They look fancy but feel homey. The recipe is simple enough for beginners and fun for experienced bakers too.
Serving them feels thoughtful. People notice the extra effort. That filling tucked inside surprises every guest in the best way. You’ll feel proud of what you made and even more when they ask for seconds.
Final Thoughts
There’s something special about making a classic dessert in cupcake form. Boston Cream Cupcakes offer familiar flavors in a new shape that’s easy to love. From start to finish, the process feels rewarding. You don’t need complicated tools or hard-to-find ingredients.
Baking them becomes more than just another recipe. It’s an experience you can share, repeat, and even reinvent. These cupcakes are warm, creamy, and just the right amount of sweet.
